1. Create your first issue
You can create an issue from the + button on any column header, or from the New Issue button in the filter bar.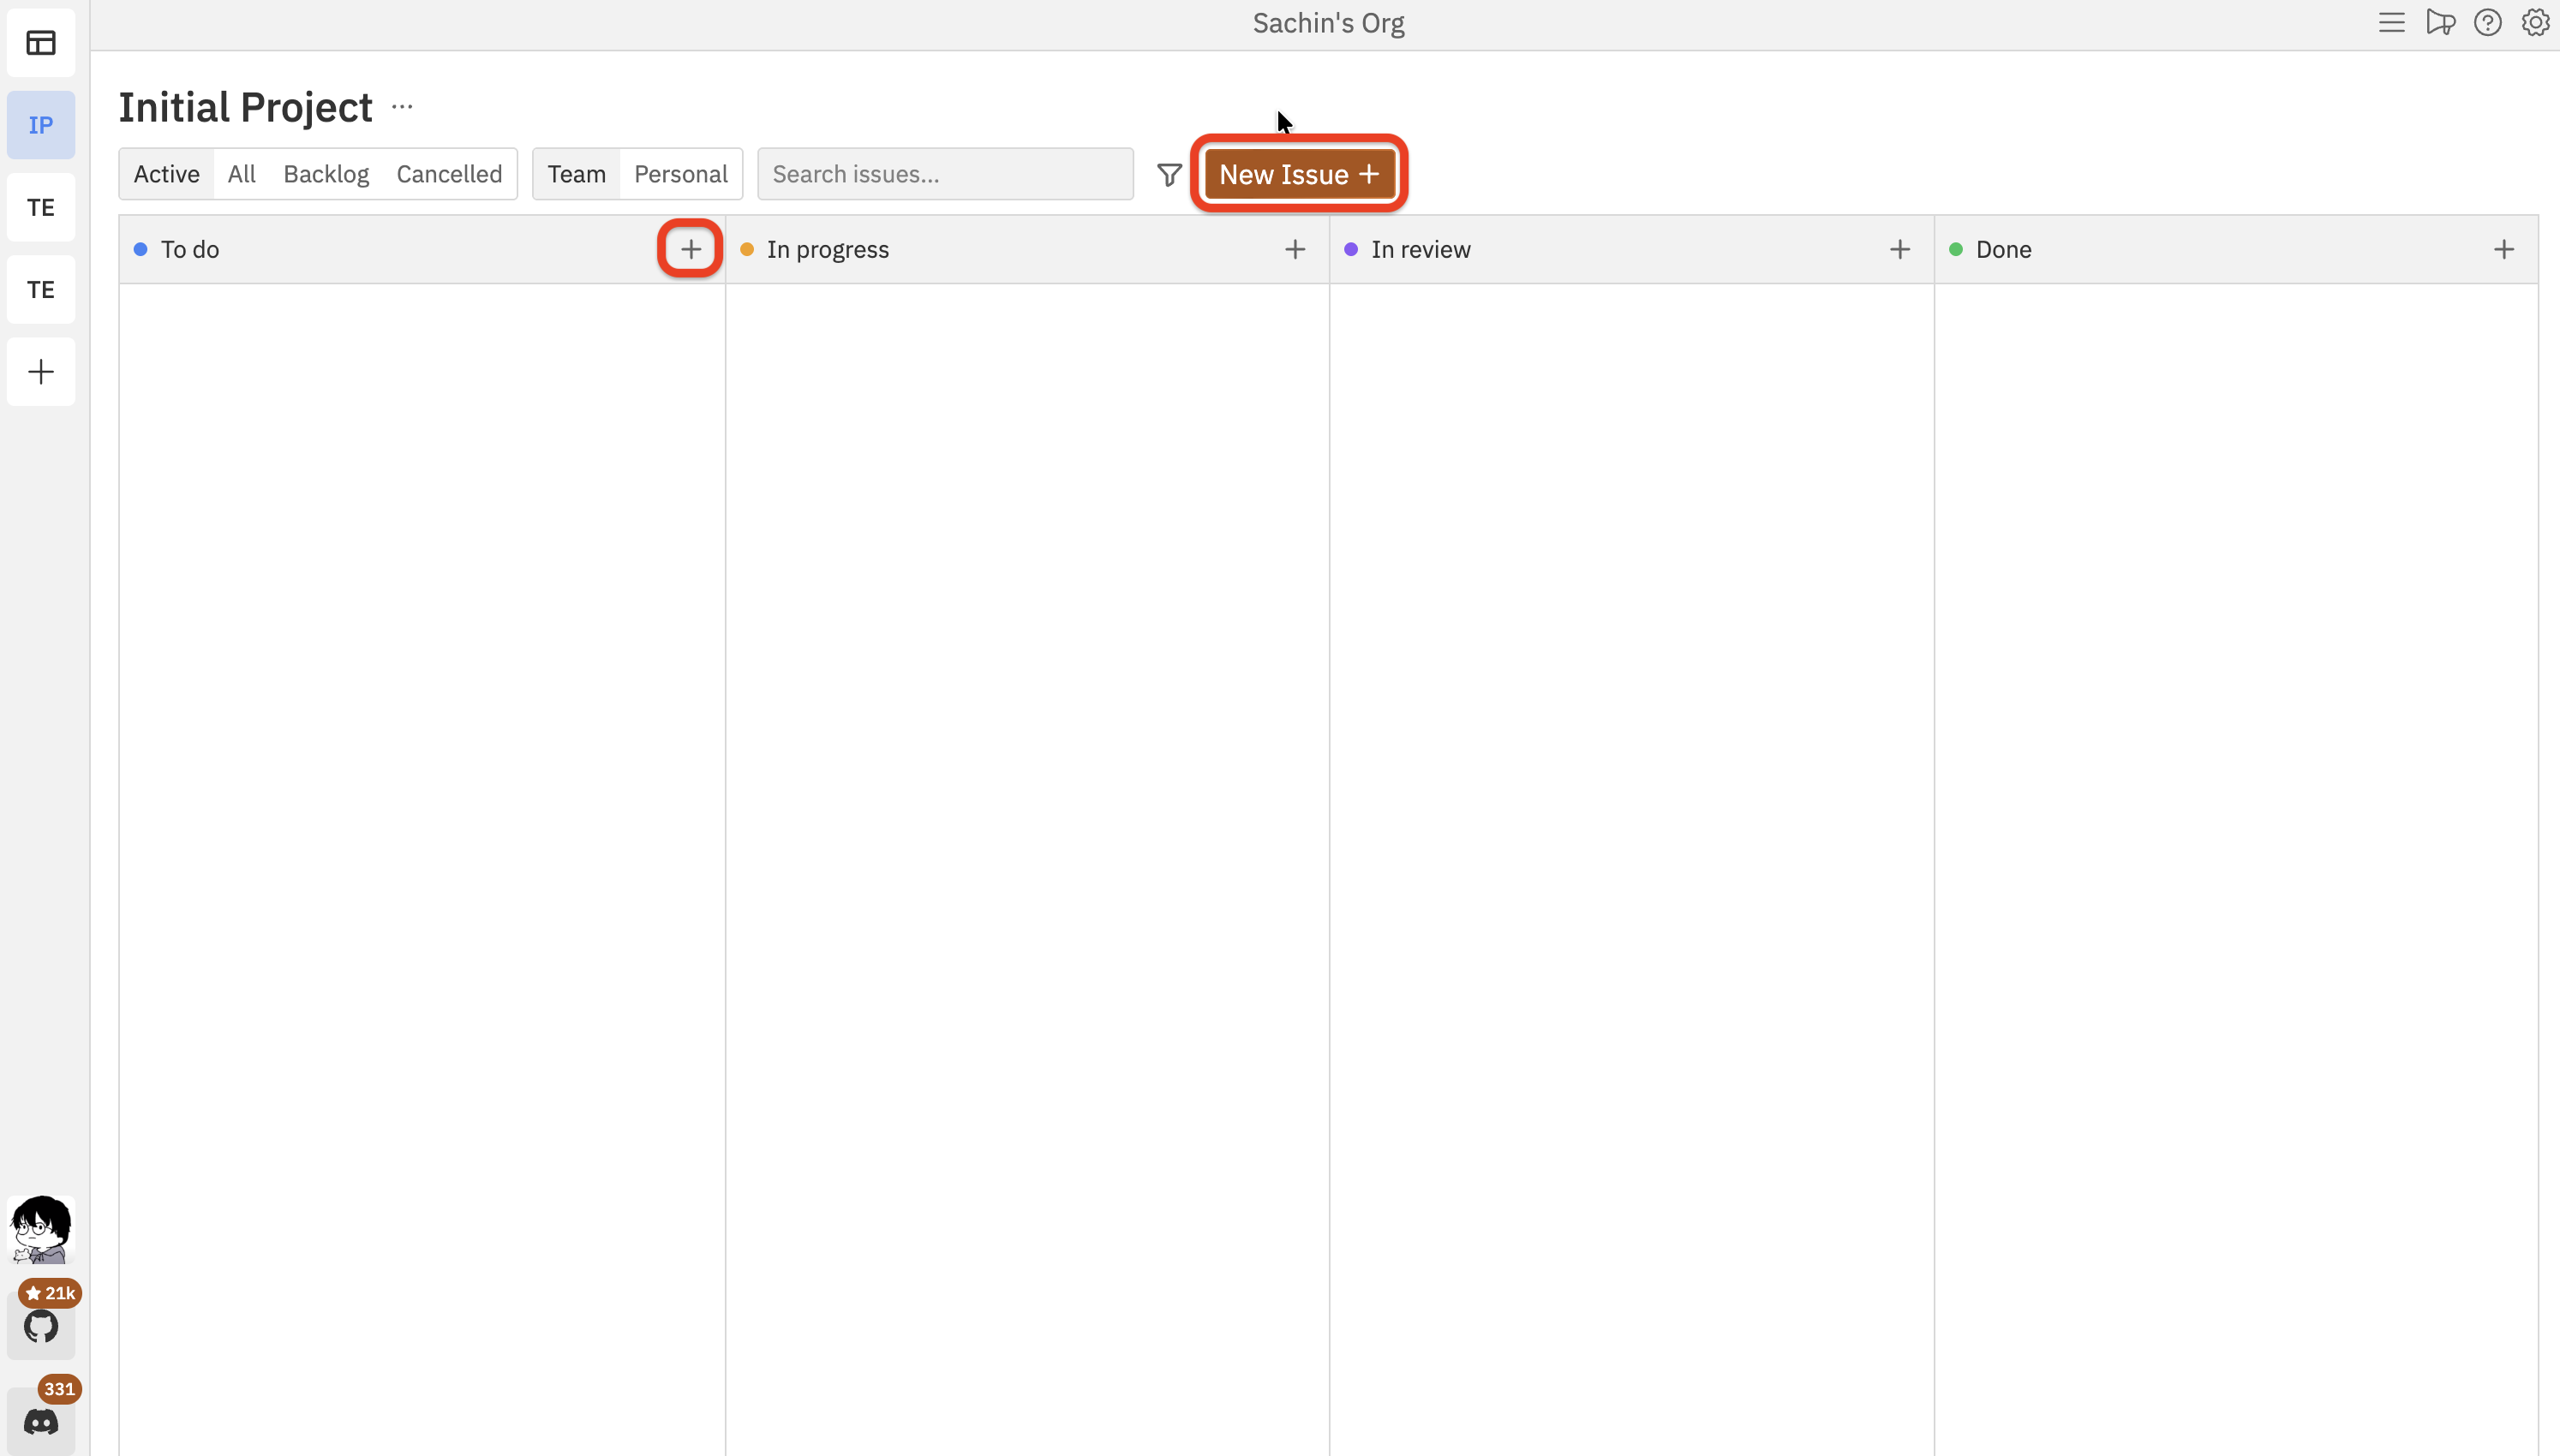
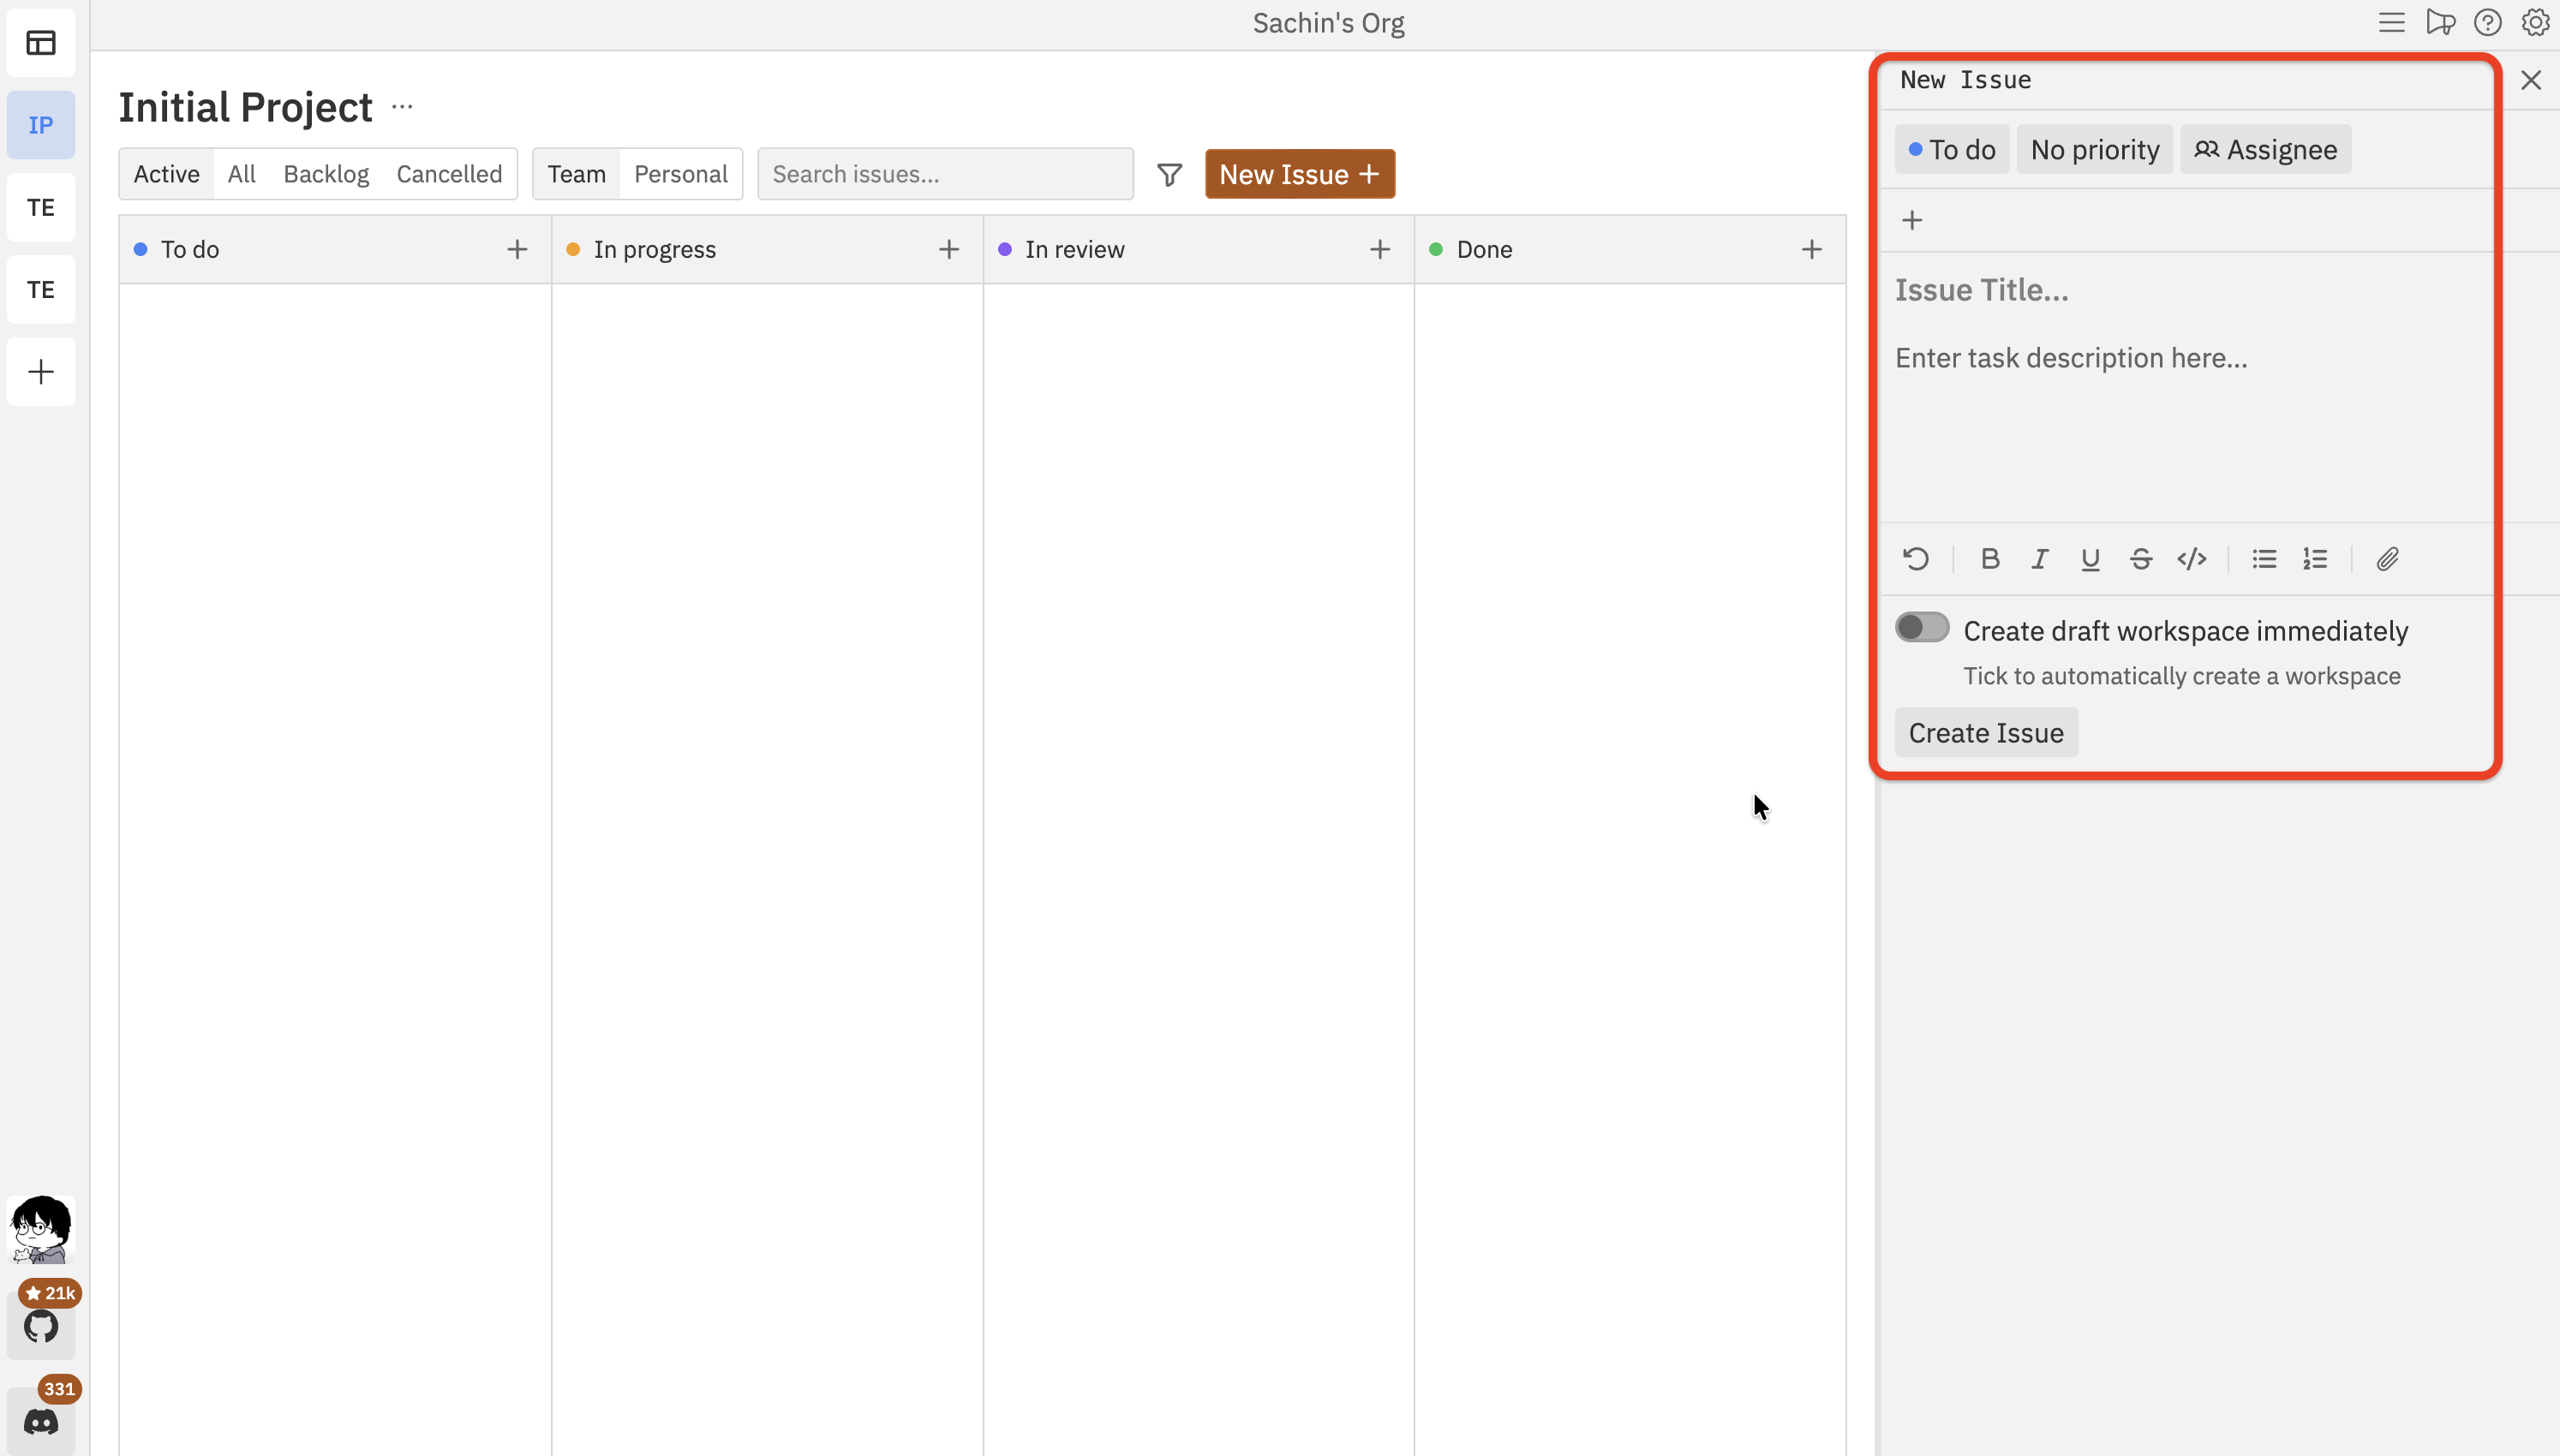
2. Write an effective description
The description is where you provide context for your coding agent. Use the rich text editor to format your instructions with bold, italic, lists, and inline code. You can also use markdown shortcuts for headings (#) and links ([text](url)).
| Element | Weak example | Strong example |
|---|---|---|
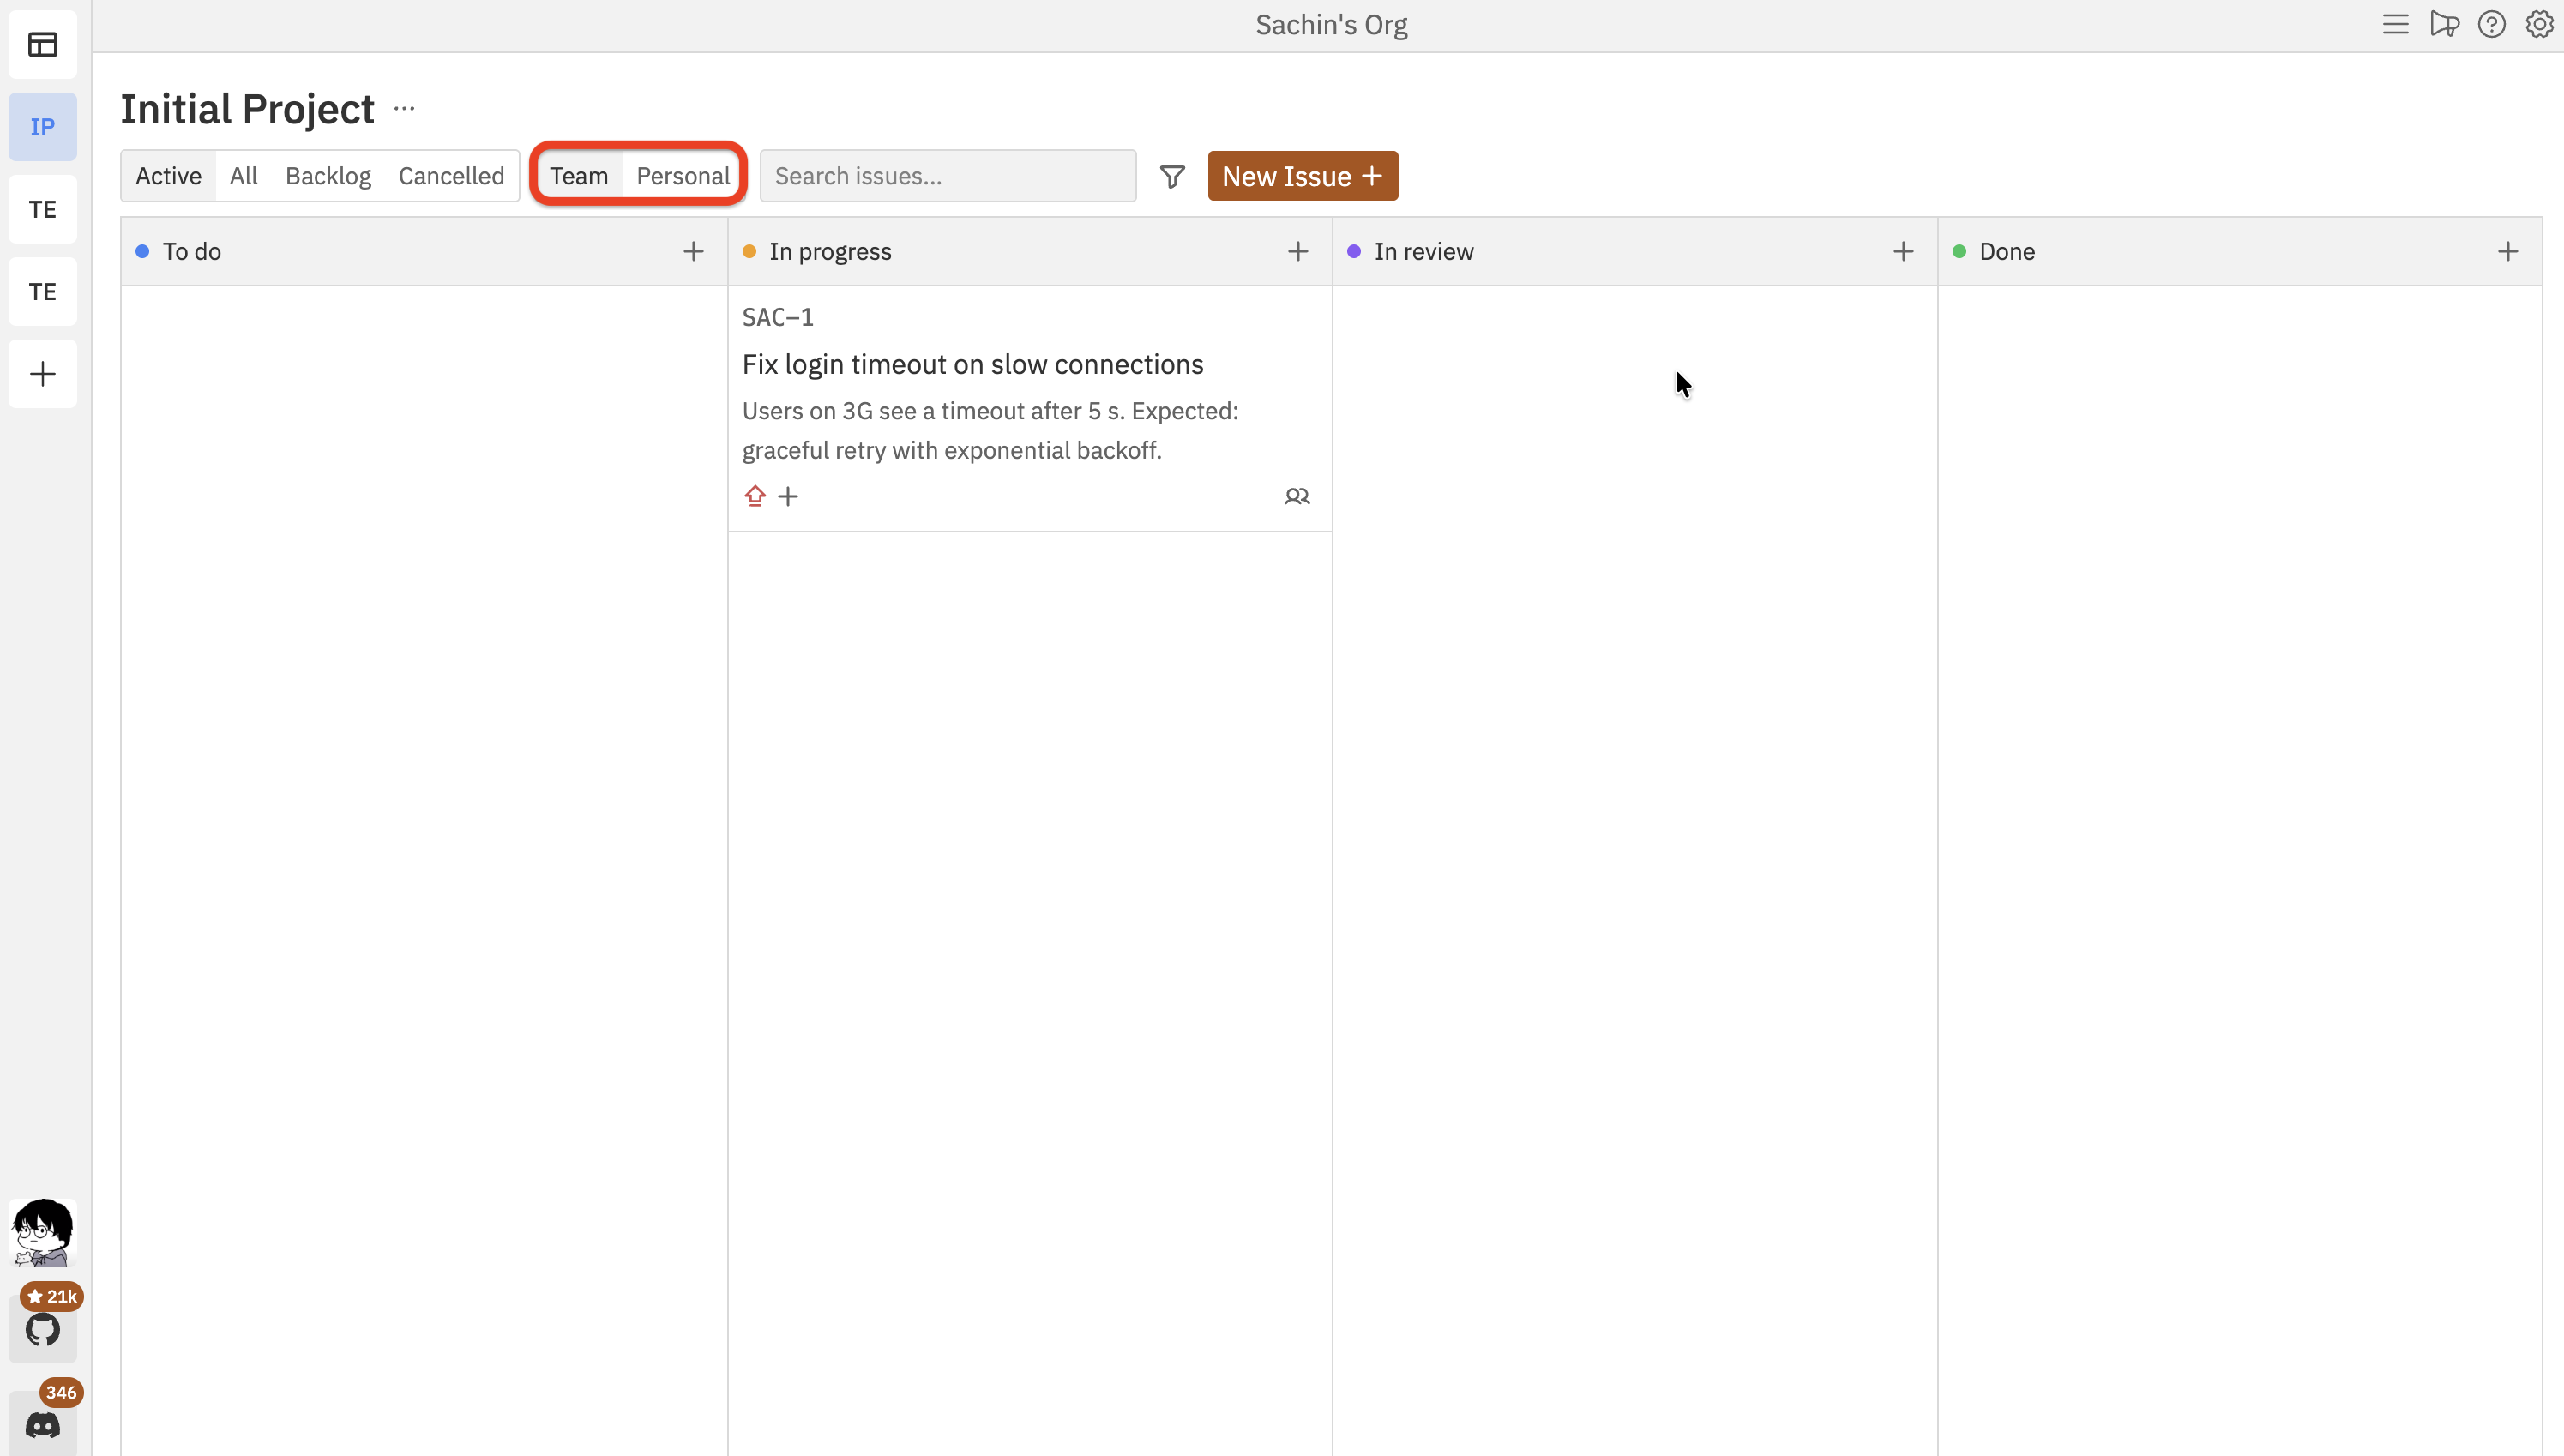
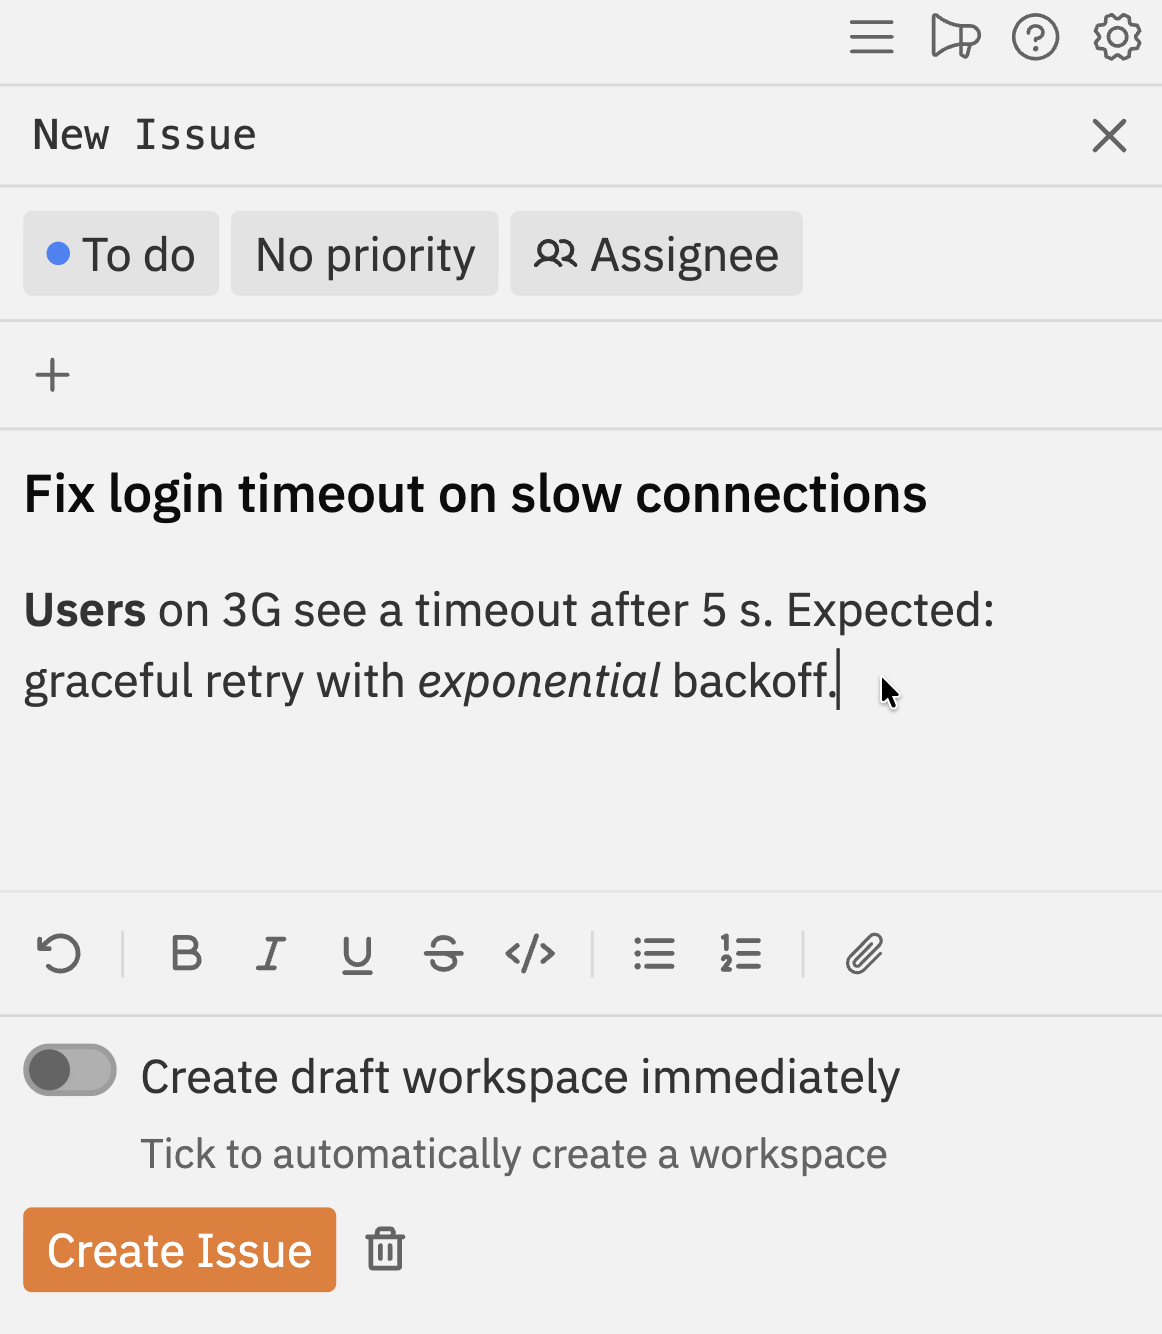
| Title | ”Fix bug" | "Fix login timeout on slow connections” |
| Description | ”It’s broken" | "Users on 3G see a timeout after 5 s. Expected: graceful retry with exponential backoff.” |
3. Set priority, assignee, and tags
Use priority to signal urgency, assign the issue to a team member, and add tags to categorise your work.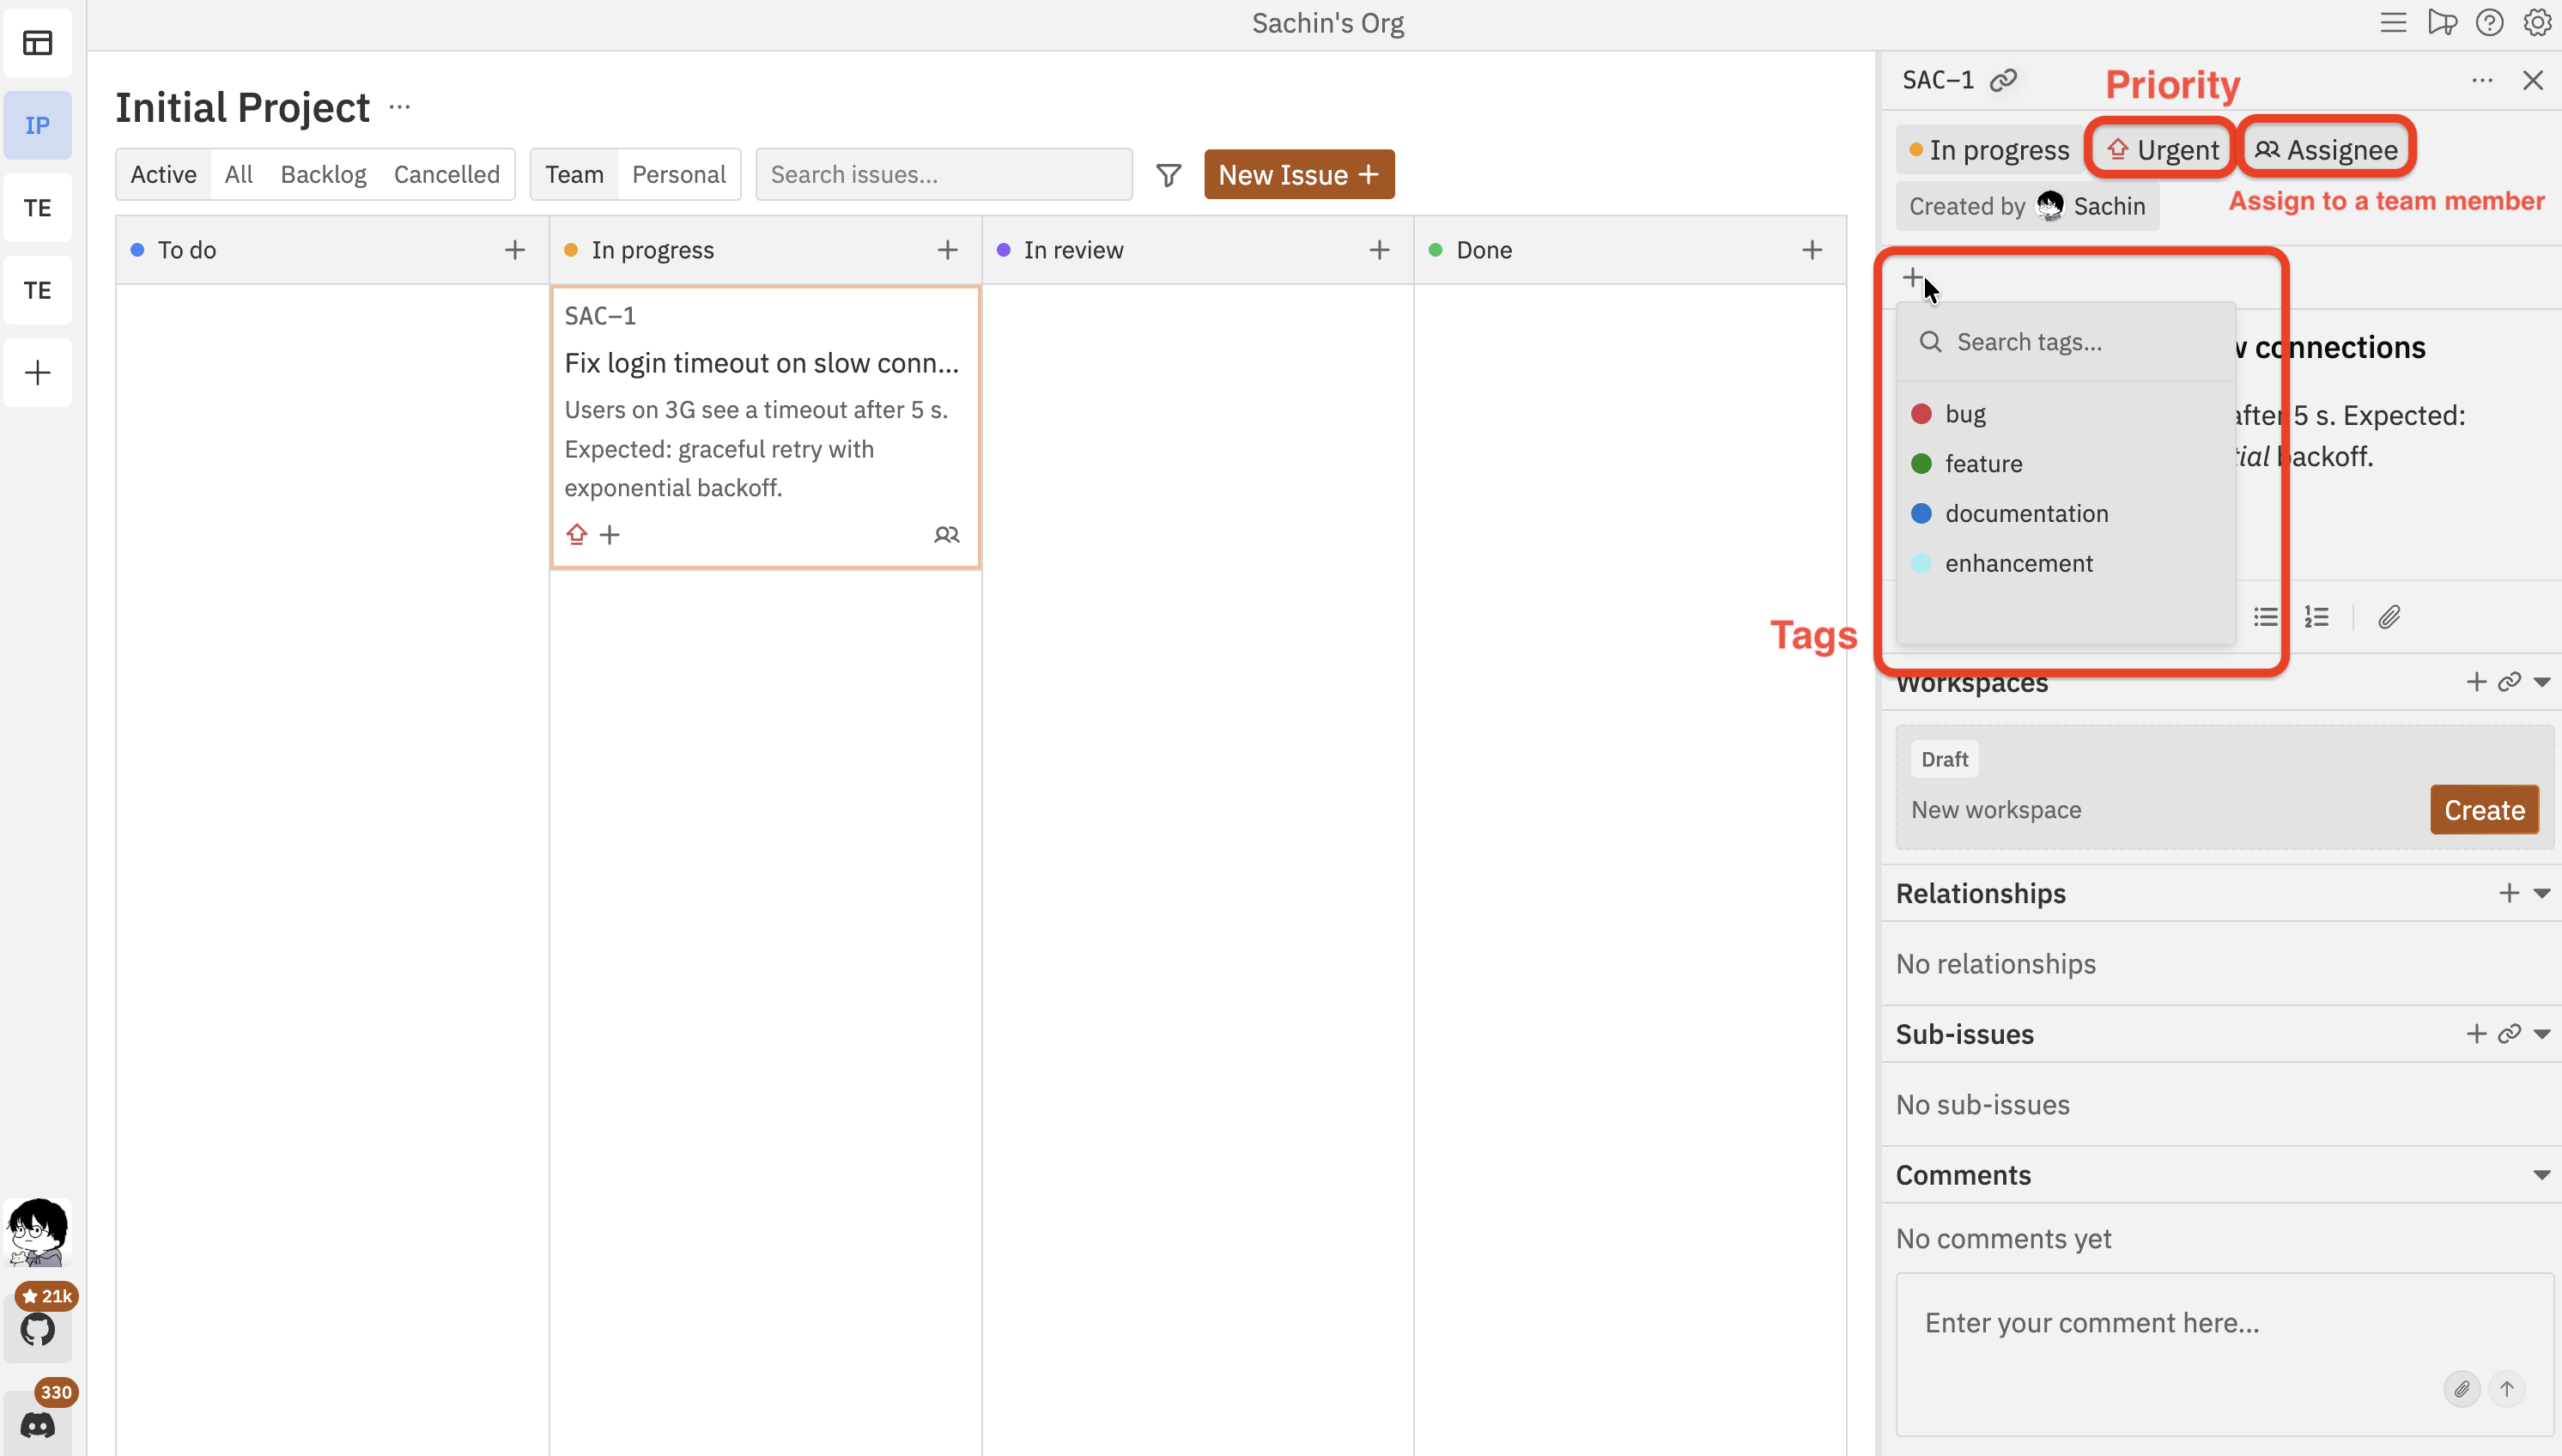
| Priority | When to use |
|---|---|
| Urgent | Production is down or users are blocked |
| High | Important work that should be picked up next |
| Medium | Standard work in the current sprint |
| Low | Nice-to-have improvements or future ideas |
Tags are project-specific. You can manage them from the tag selector when editing an issue.
4. Manage issues on the kanban board
Drag and drop issues between columns to change their status, or within a column to reorder them.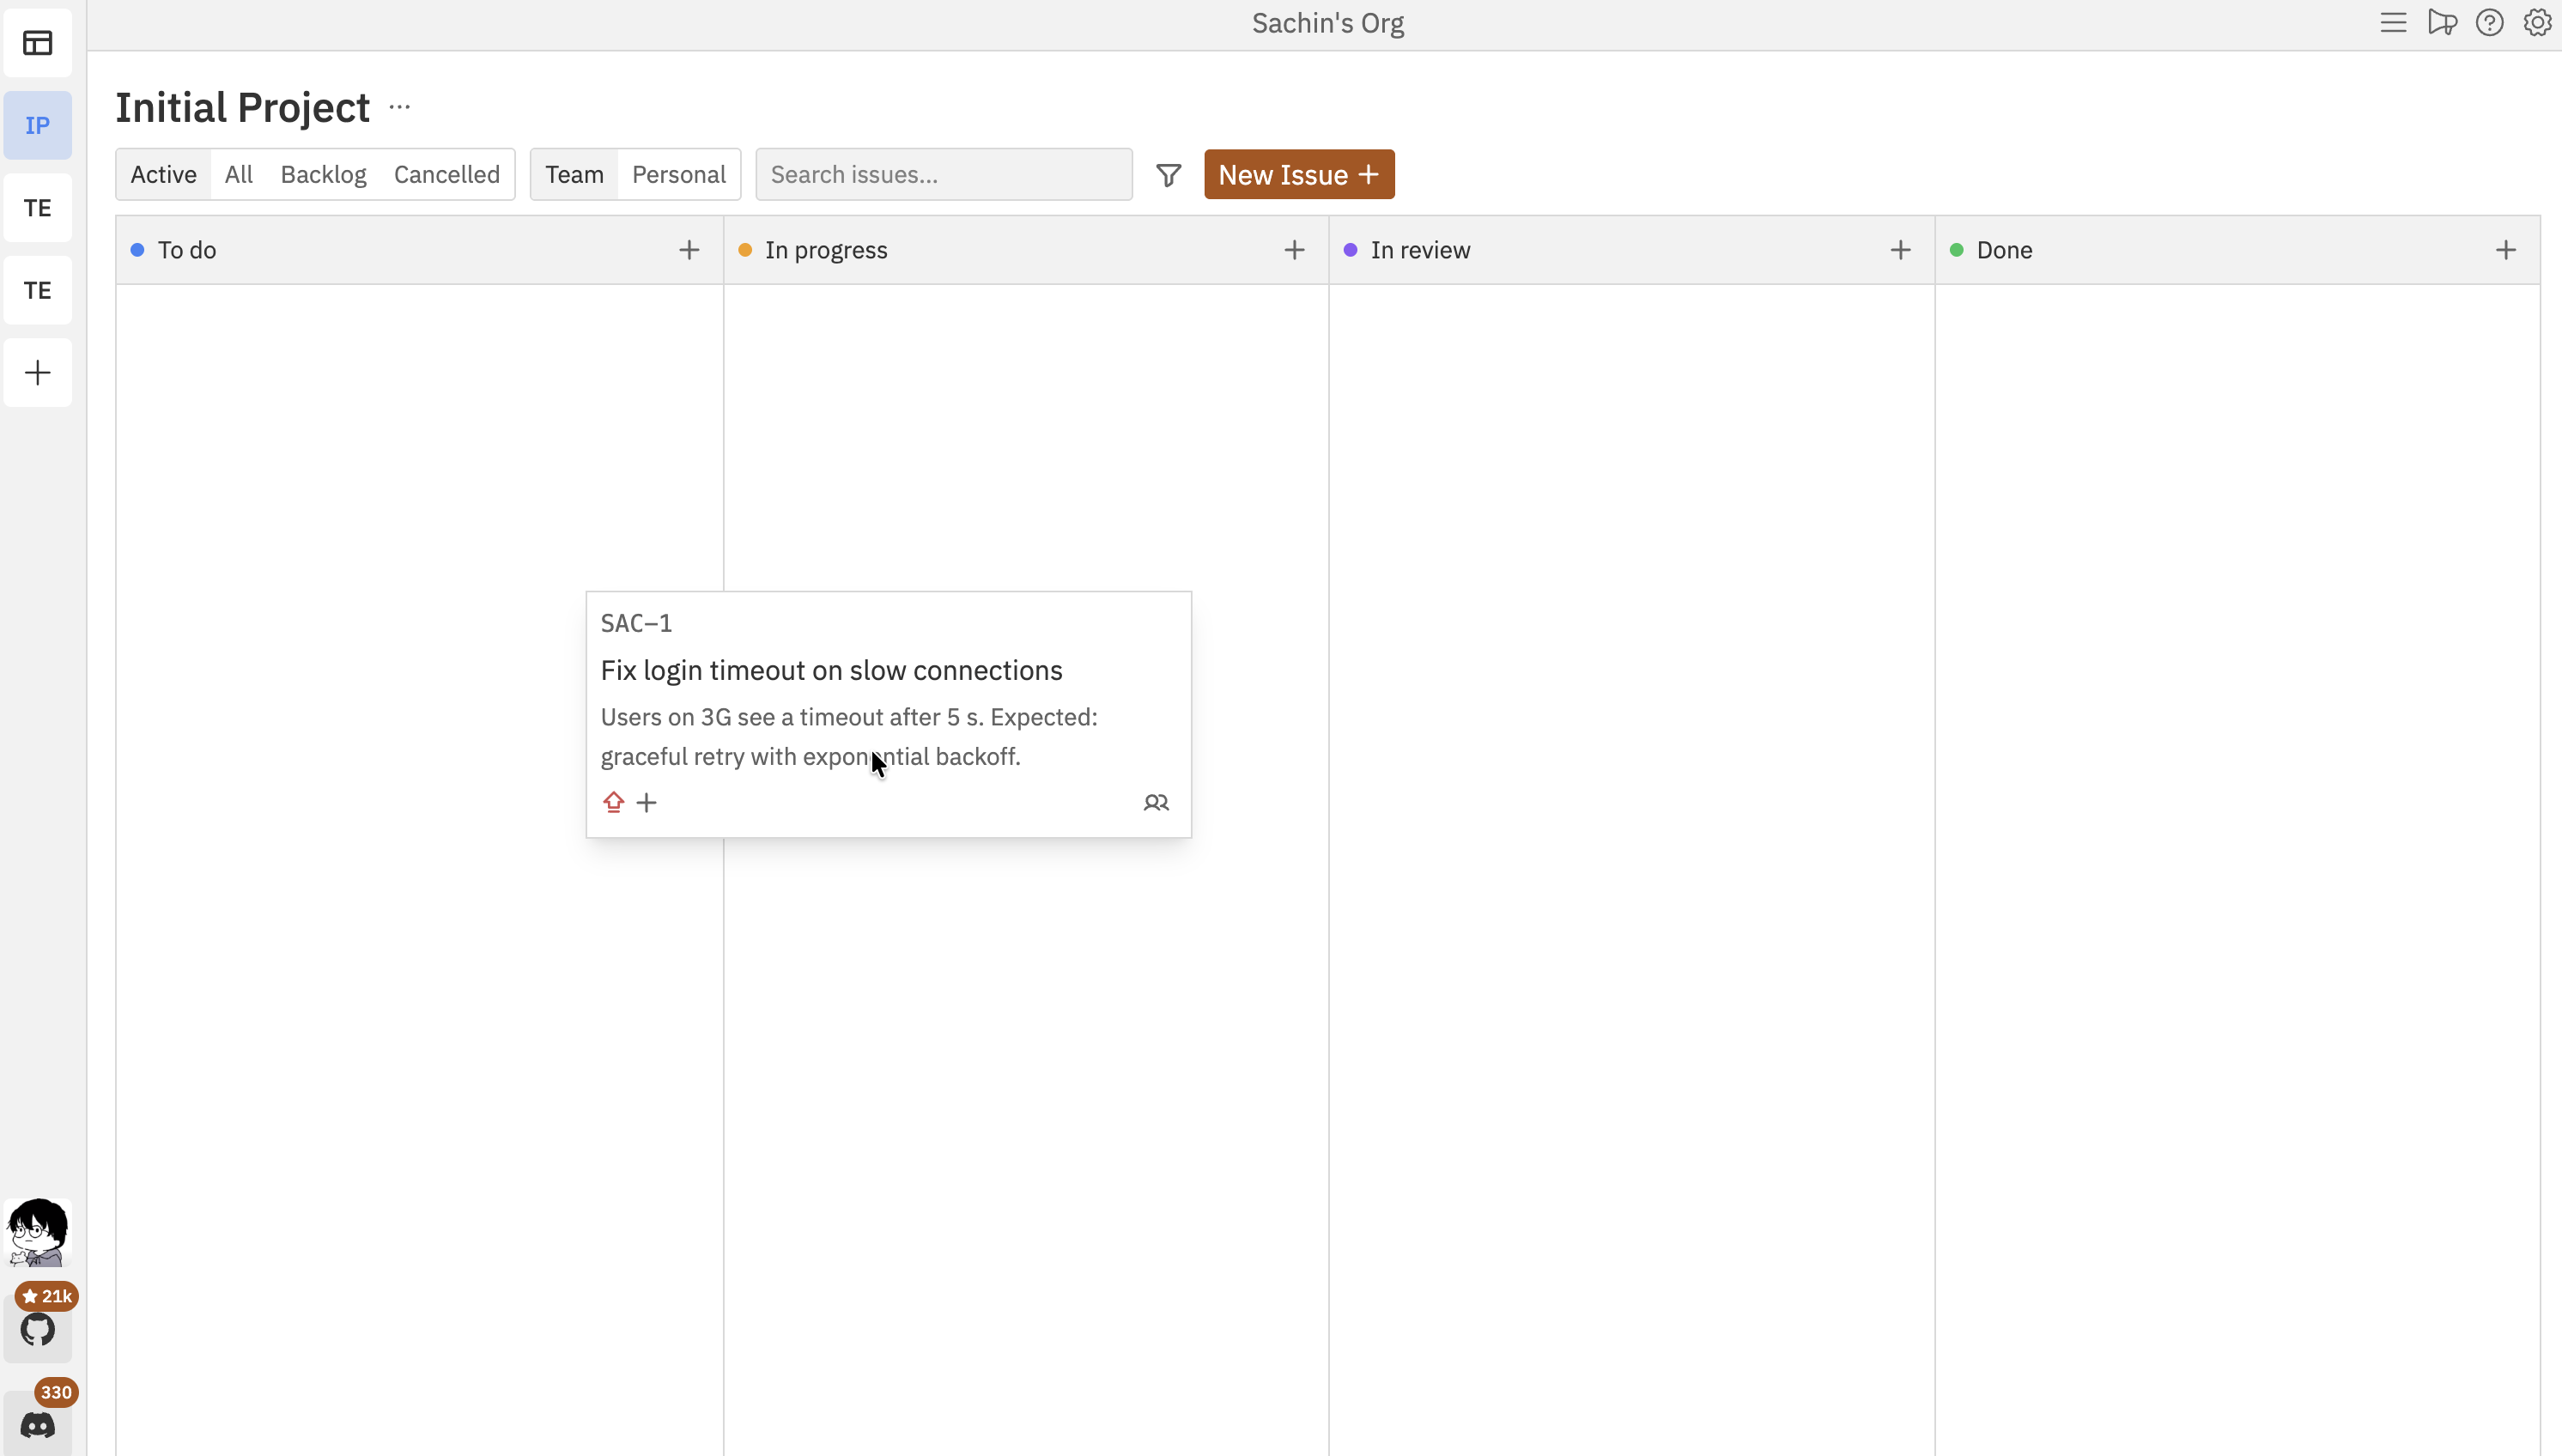
| Column | What it means |
|---|---|
| To do | Work that hasn’t started yet |
| In progress | An agent or person is actively working on this |
| In review | Work is done and waiting for your review |
| Done | Completed and verified |
5. Break work down with sub-issues
Large features are easier to manage when you break them into smaller, agent-sized tasks. Sub-issues let you create parent/child relationships between issues. To add a sub-issue, open the parent issue and scroll to the Sub-Issues section. You have two options: click the + button to create a new sub-issue, or click the link button to connect an existing issue as a child.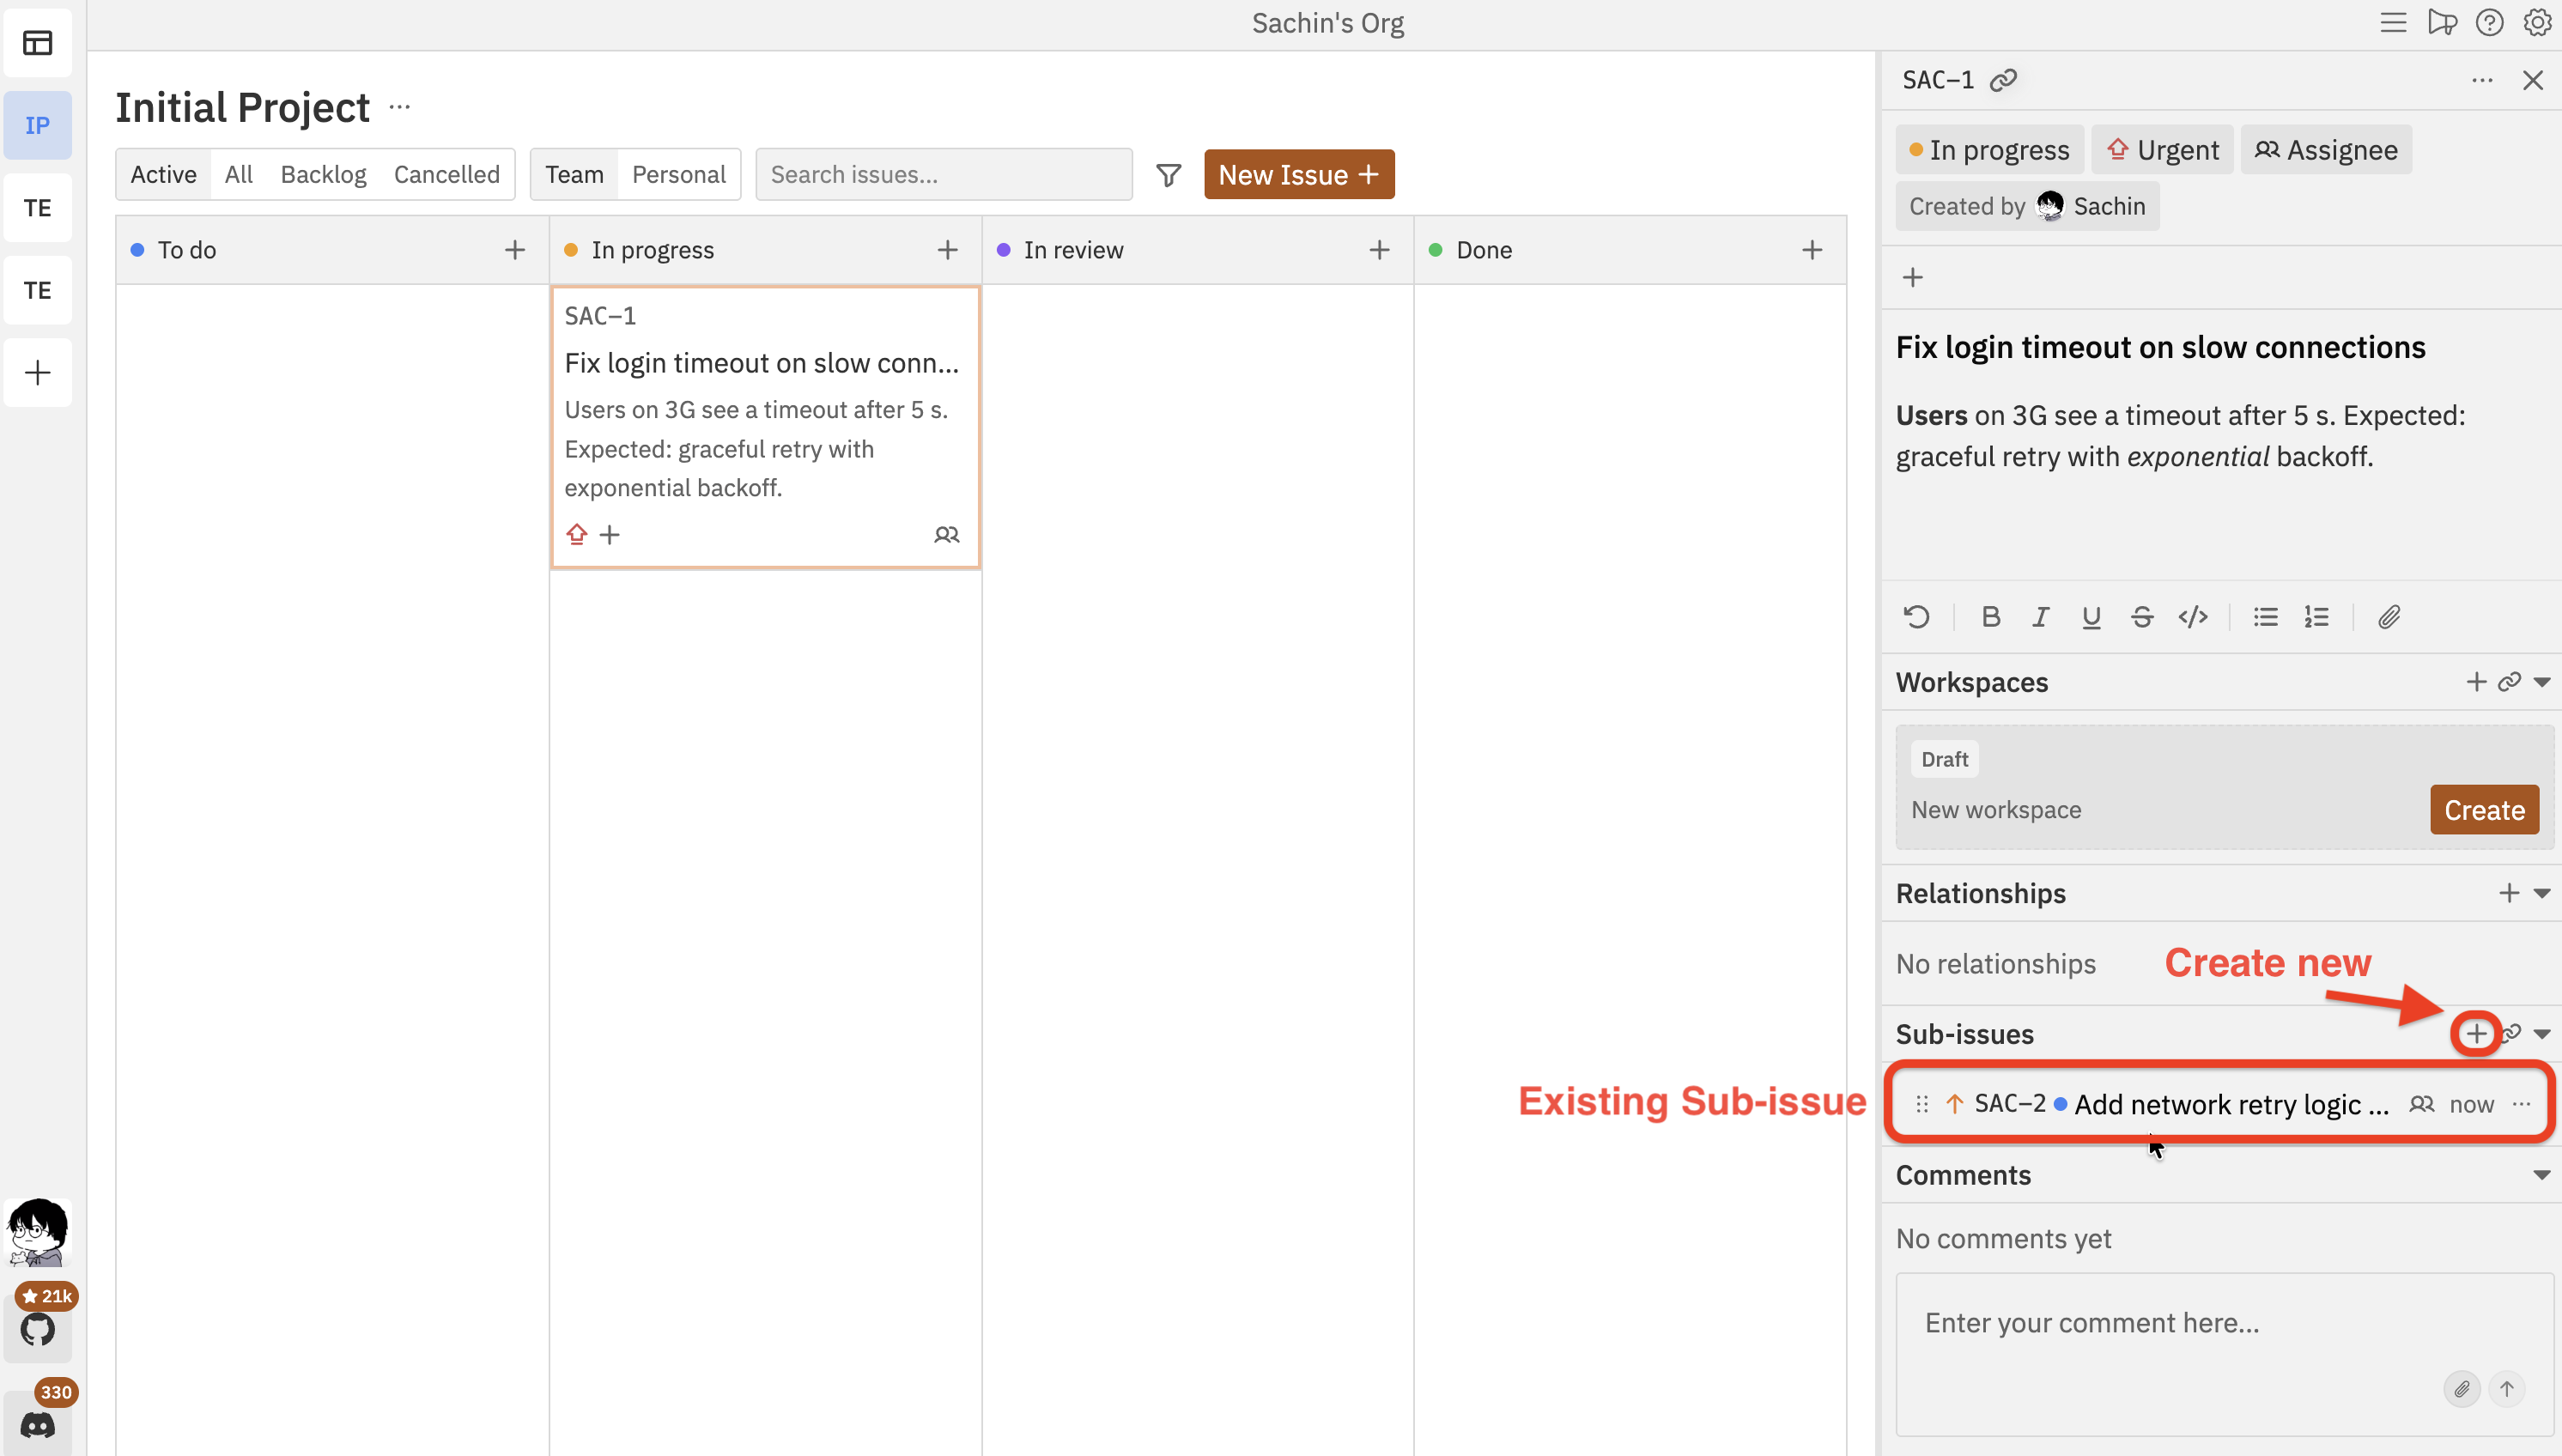
- Each sub-issue has its own independent status — completing all children does not auto-complete the parent
- Sub-issues show a Parent link so you can navigate back to the parent issue
6. Connect issues to workspaces
A workspace is where your coding agent does the actual work. Open an issue and scroll to the Workspaces section. You have two options: click the + button to create a new workspace, or click the link button to connect an existing one.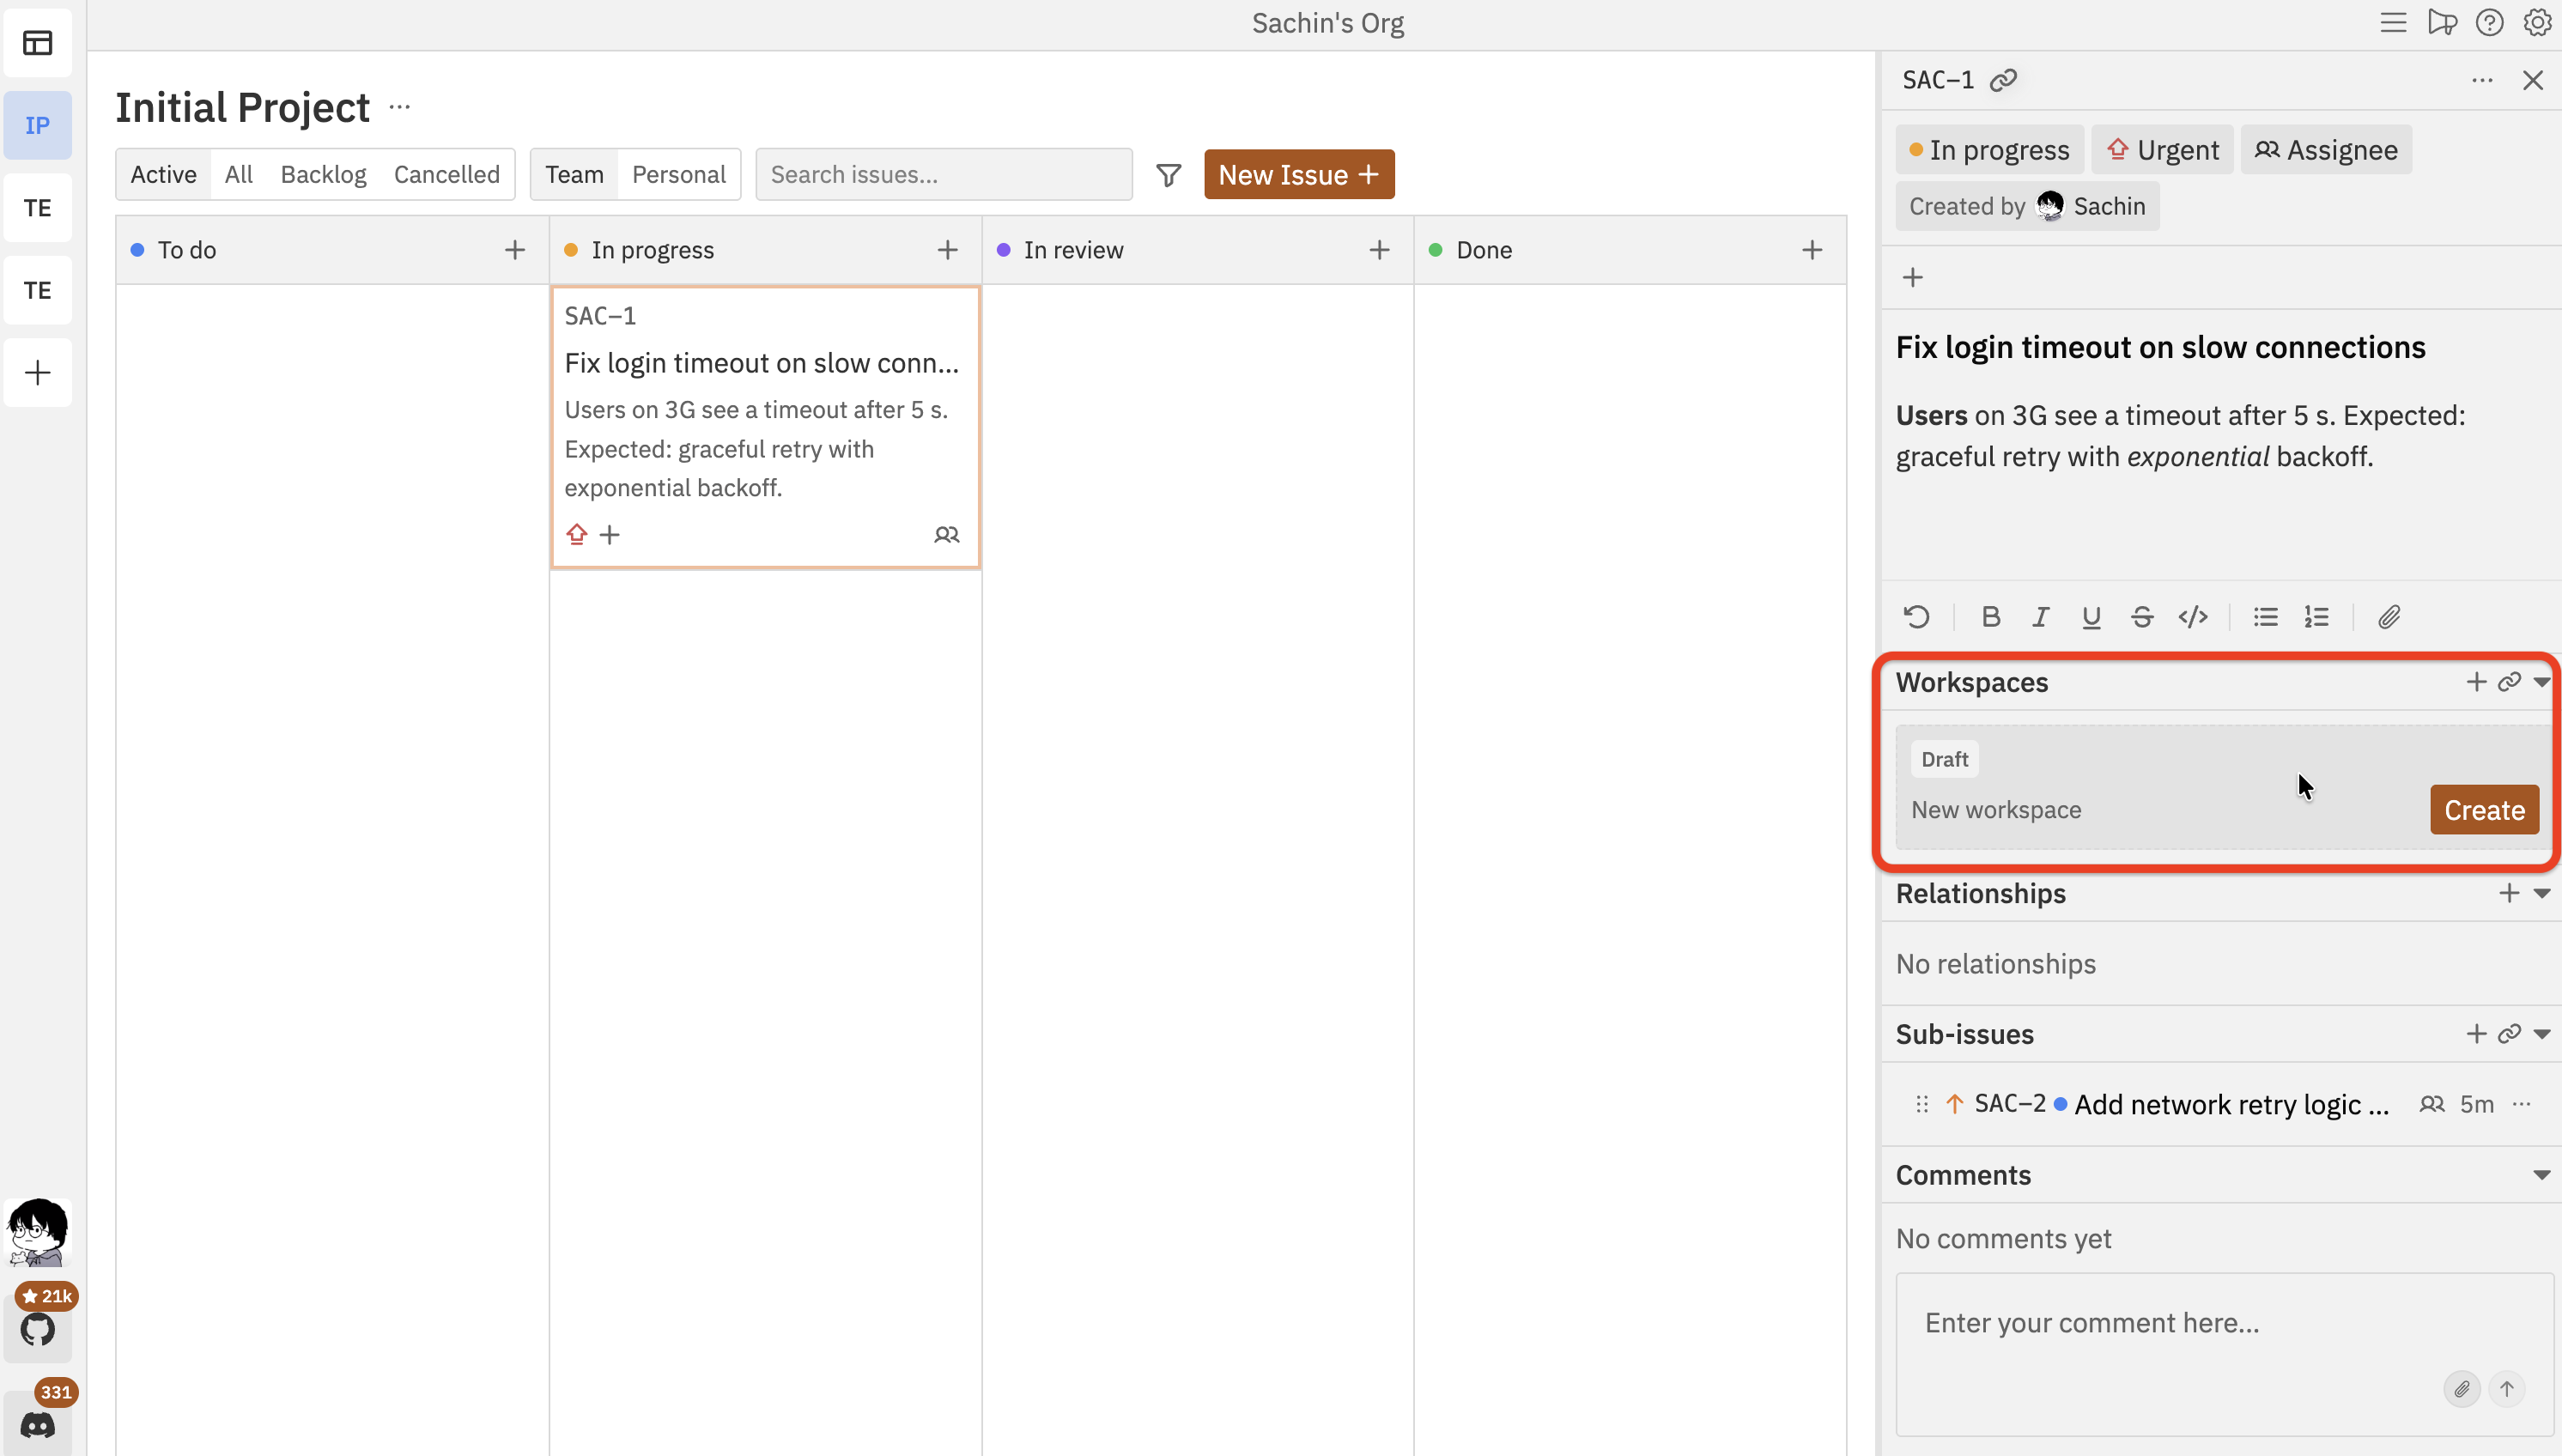
You can connect multiple workspaces to a single issue — useful for running agents in parallel on different parts of the same feature.
Troubleshooting
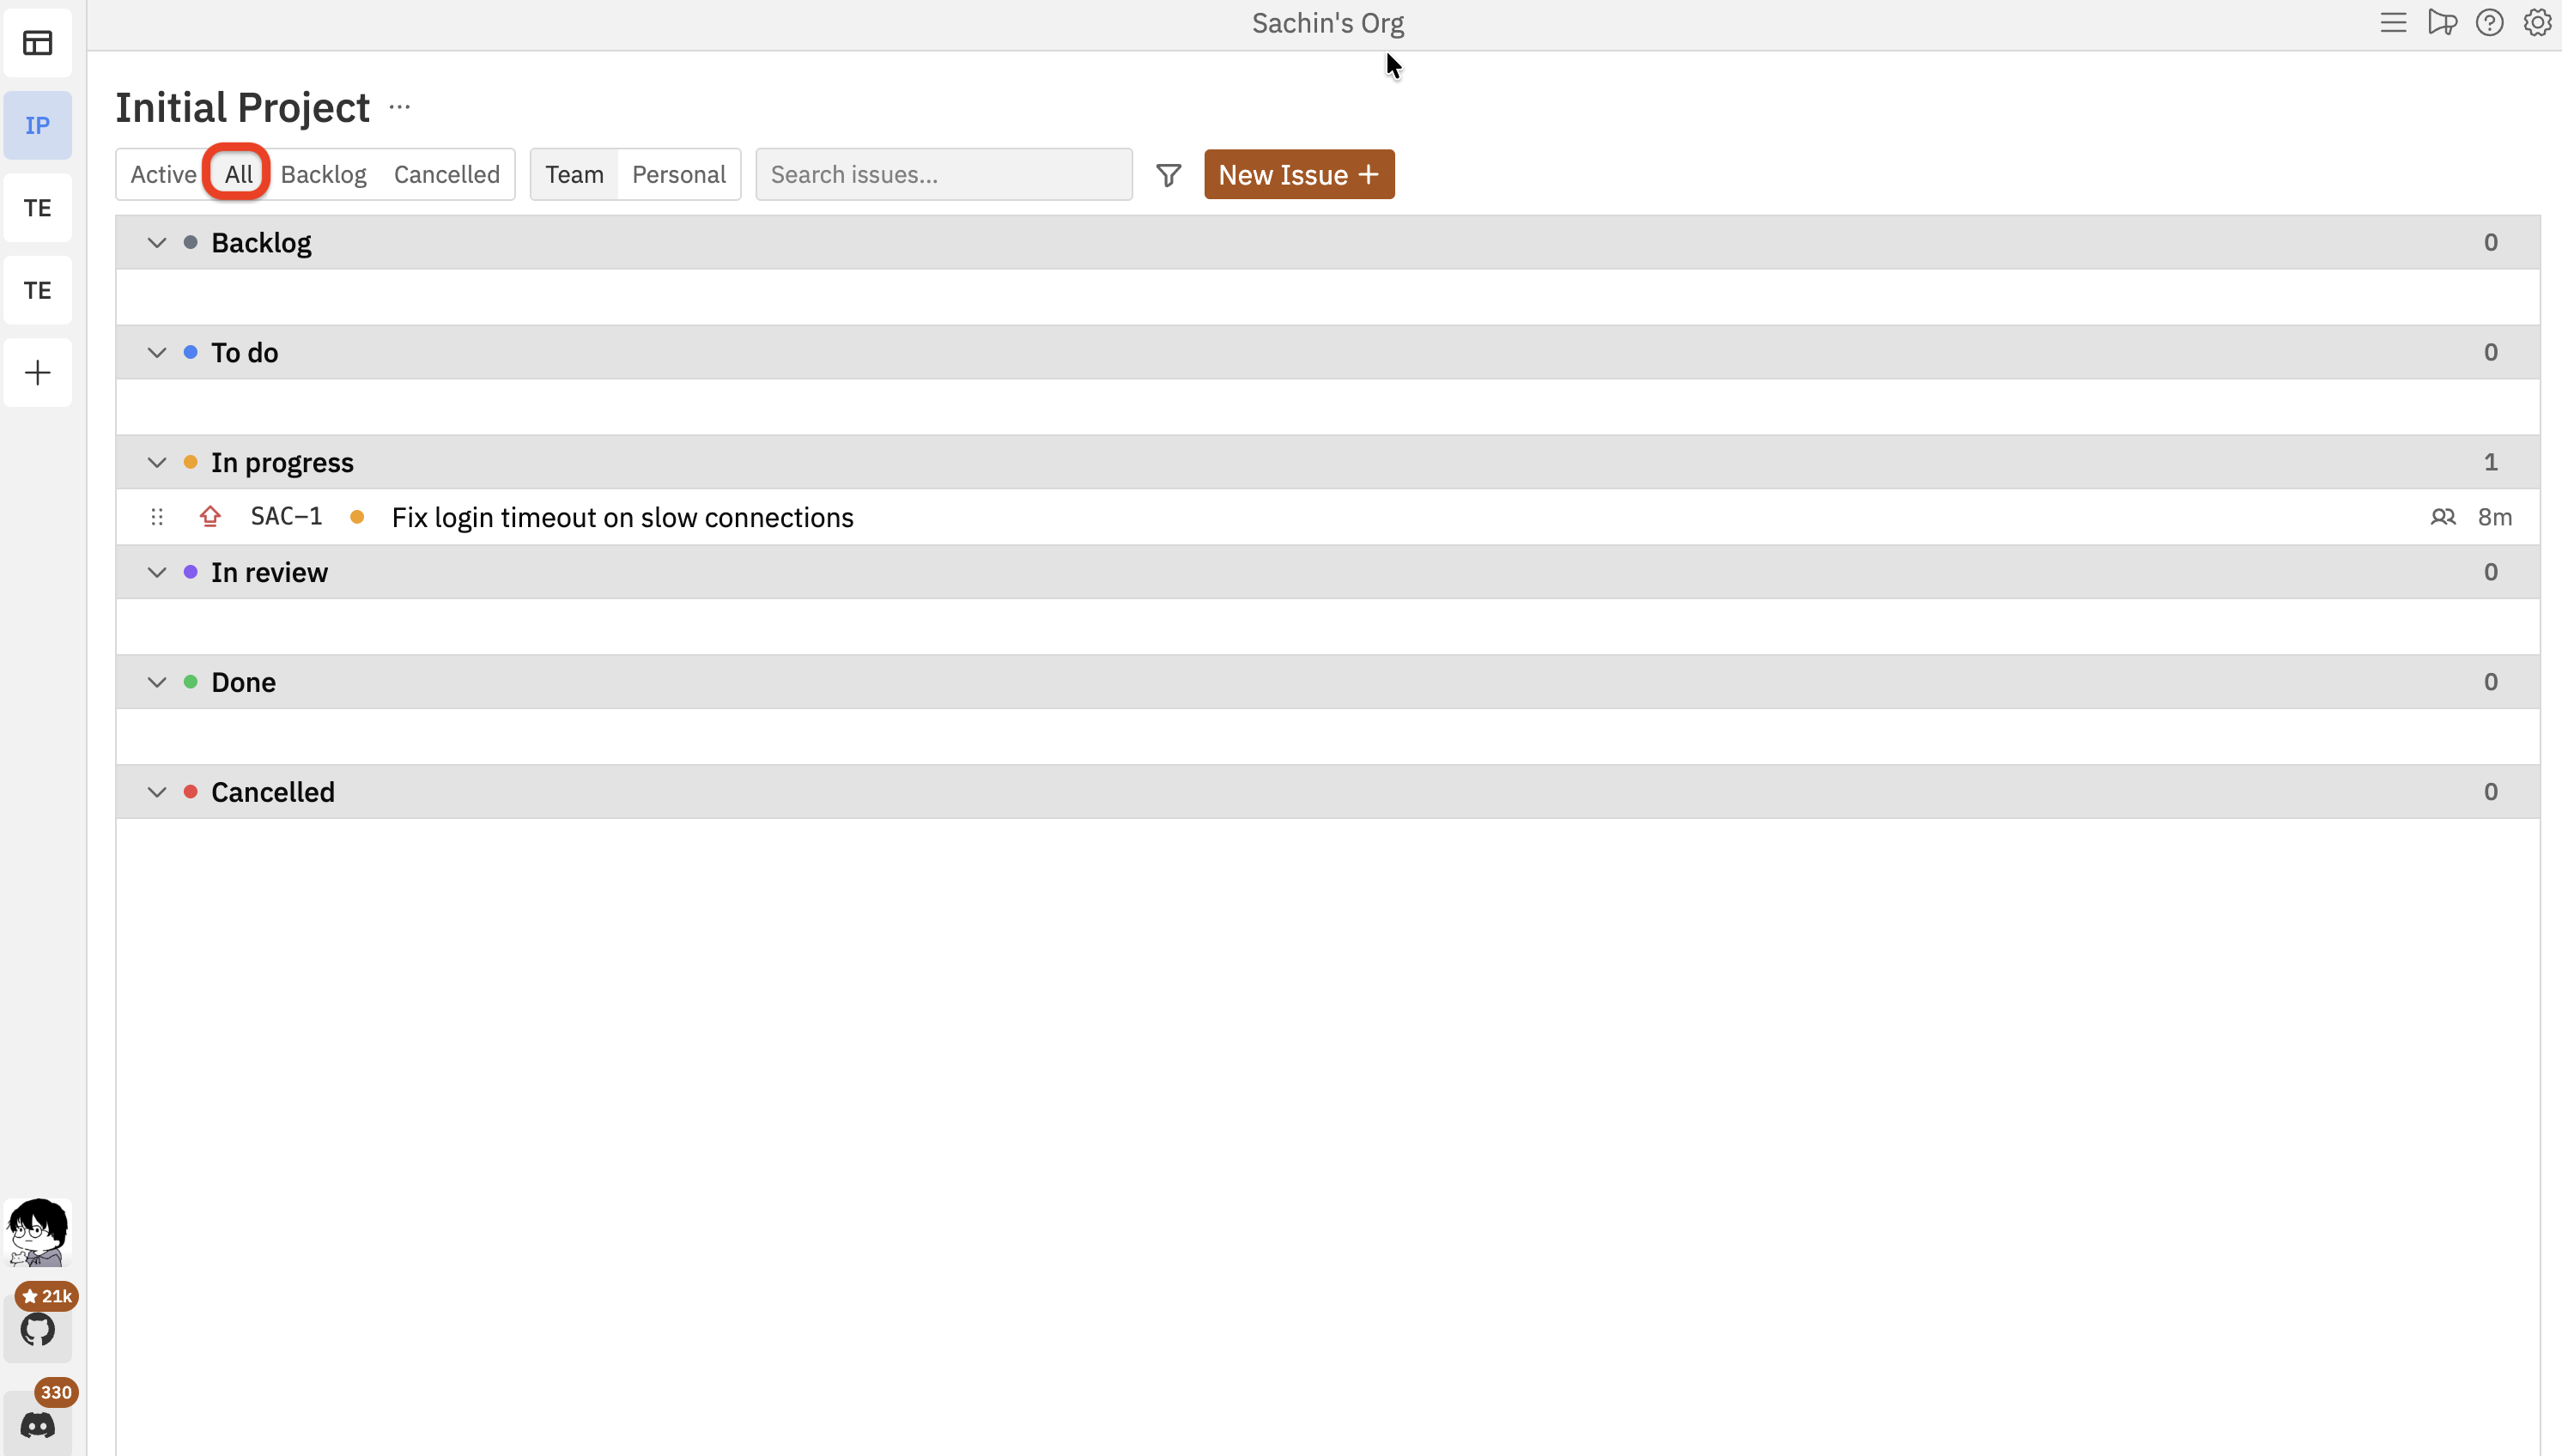
Issue doesn't appear on the board
Issue doesn't appear on the board
- Check your active filters — click Clear All to reset them
- The issue might be in Backlog or Cancelled — switch to the All tab to see hidden statuses
Can't drag issues to reorder them
Can't drag issues to reorder them
Sort mode must be set to Manual. If sorting is set to Priority, Created, or another mode, drag-to-reorder is disabled. Change the sort option in the board header.
Description changes aren't saving
Description changes aren't saving
Changes auto-save after a brief delay. Check your internet connection if changes aren’t persisting, and try refreshing the page.
Next steps
Filtering & Sorting
Find issues quickly with search, filters, and sorting
Kanban Board
Learn more about the board layout and collaboration
Workspaces
Understand how workspaces connect to issues