Every team works differently. Customise your kanban board to match your workflow by adding columns, changing colours, renaming statuses, and controlling what’s visible.Documentation Index
Fetch the complete documentation index at: https://vibekanban.com/docs/llms.txt
Use this file to discover all available pages before exploring further.
Display Settings
Access display settings to customise your board columns:- Click the Display Settings button () in the filter bar
- The settings panel opens showing all your columns
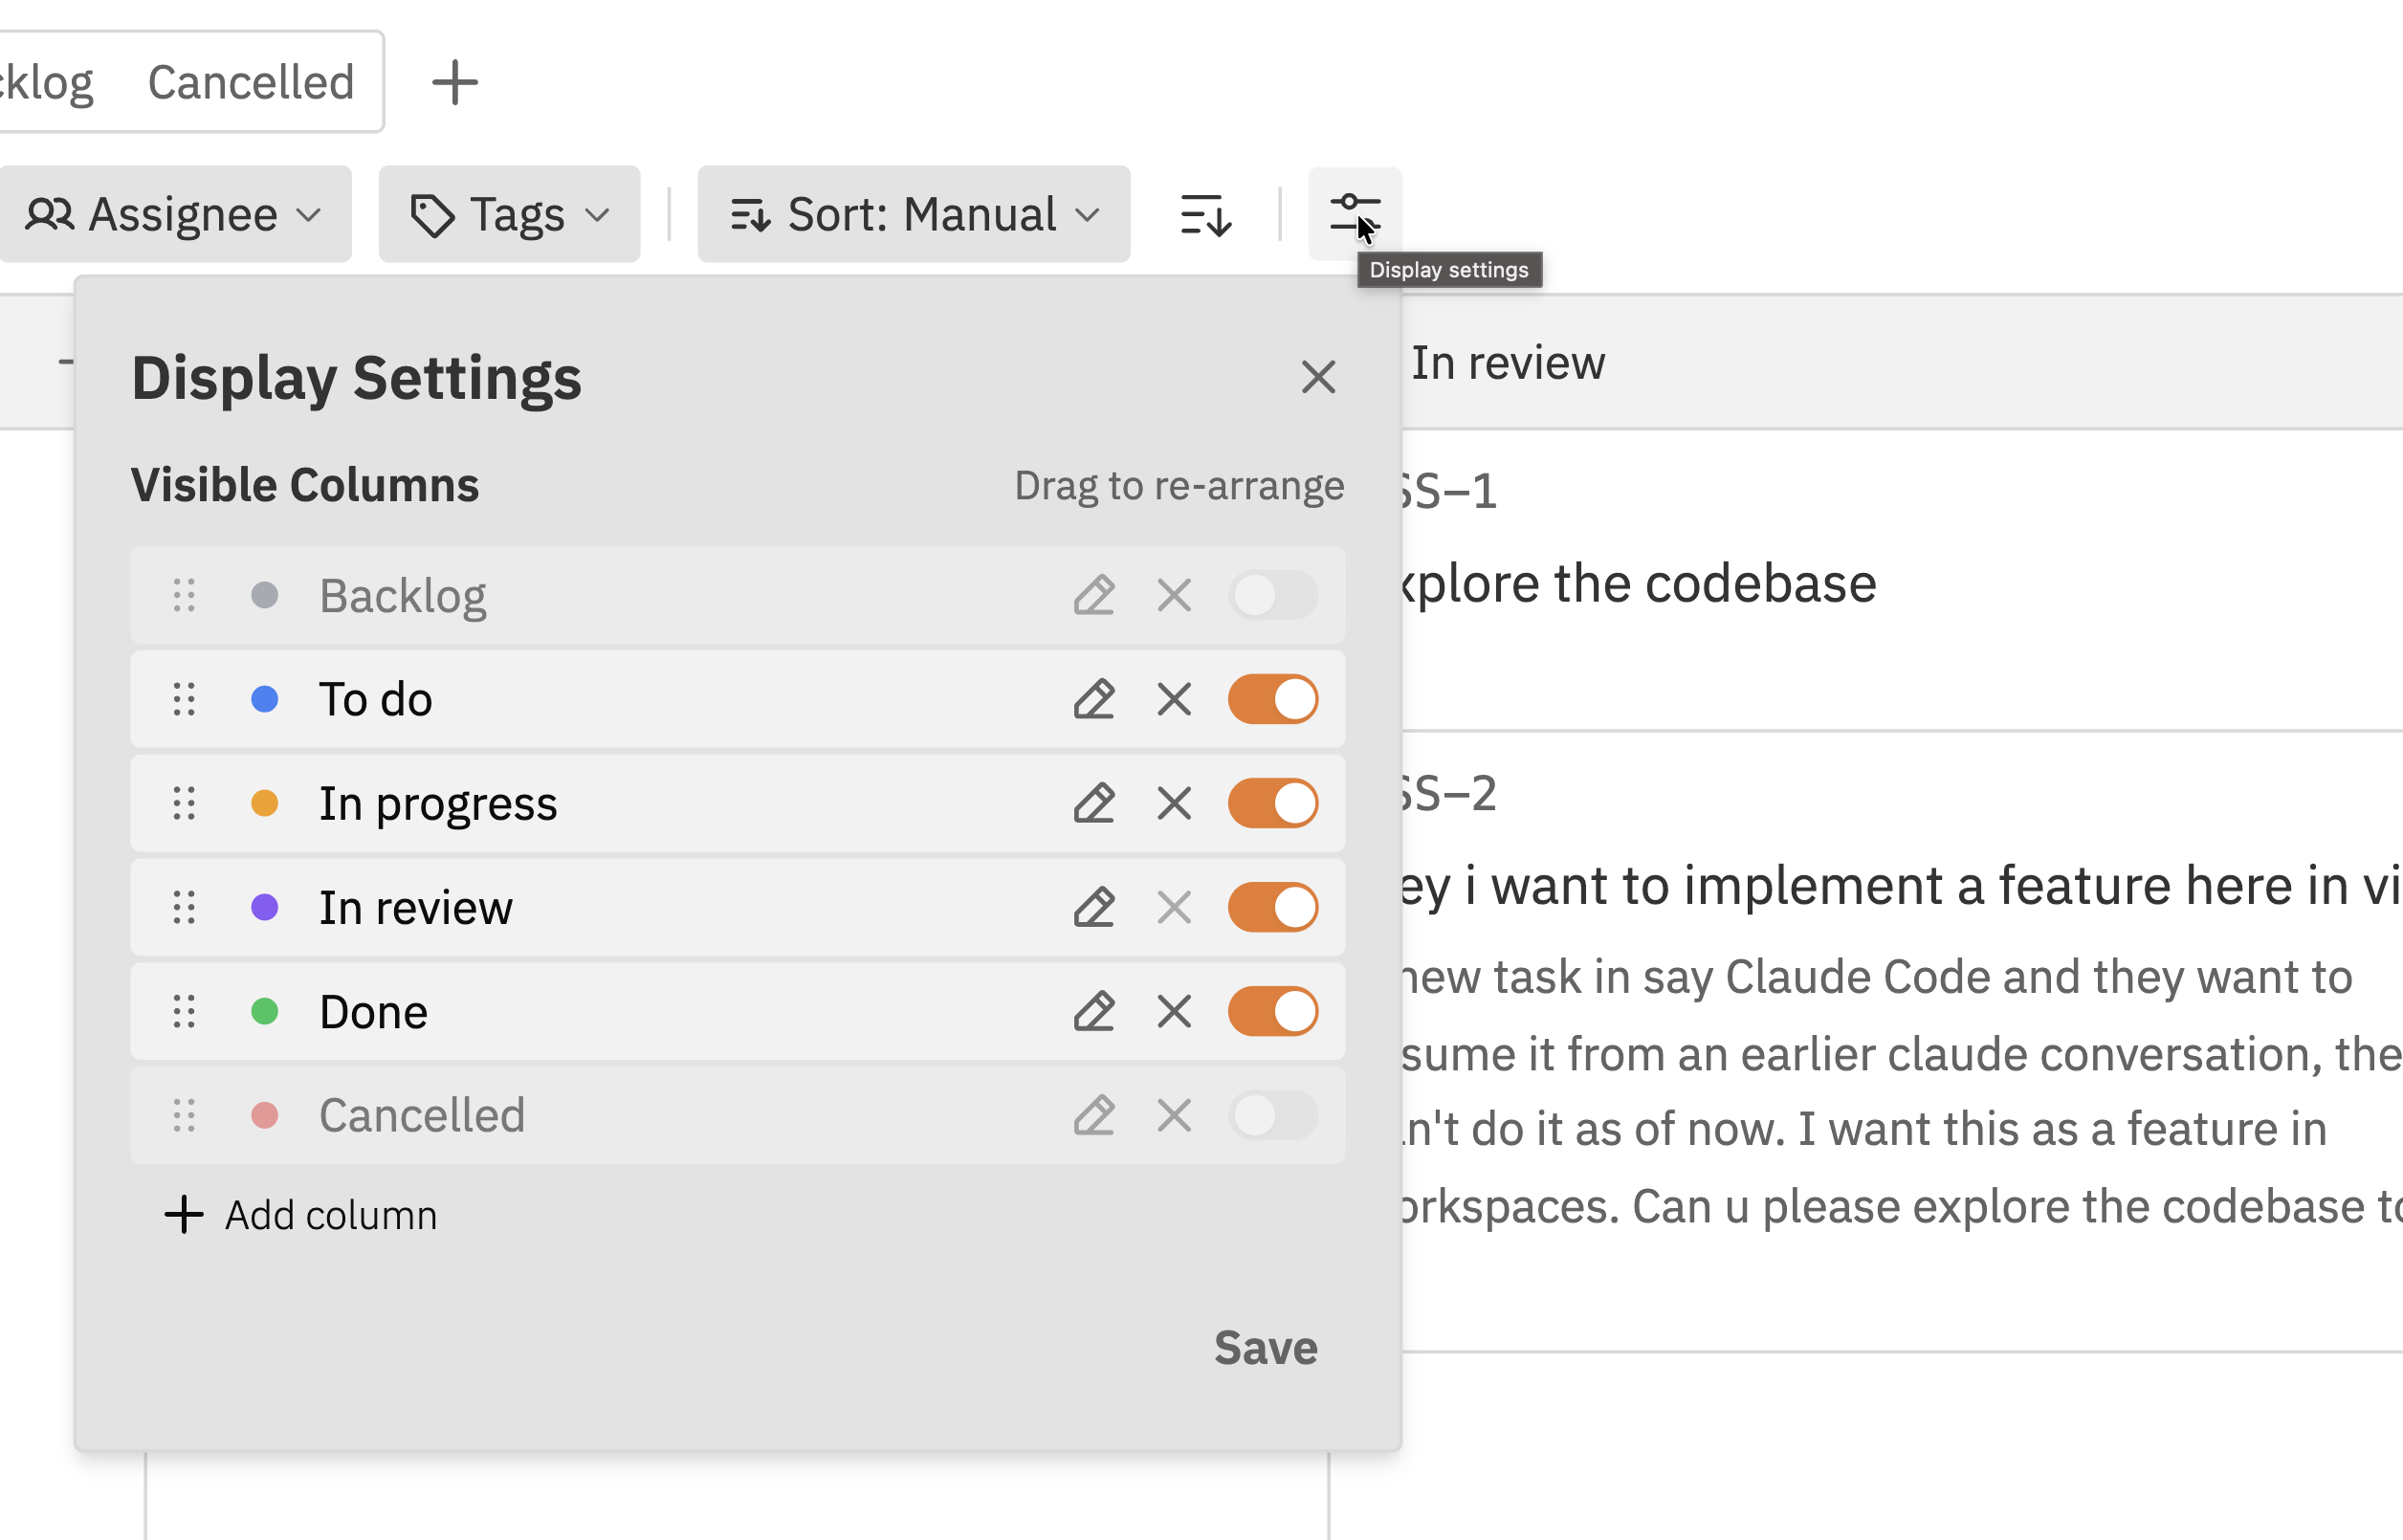
Managing Columns
Adding a New Column
New columns are assigned a random colour. You can change it after creation.
Renaming a Column
Renaming a column doesn’t affect the issues in it. All issues keep their current status - only the display name changes.
Changing Column Colours
Each column has a colour that appears in the column header and on issue cards.Reordering Columns
Change the order columns appear on your board:Hiding Columns
Hide columns you don’t use regularly to keep your board clean:Toggle visibility
Click the toggle switch next to the column you want to hide. When the toggle is off, the column is hidden.
- Don’t appear on the board
- Still exist - issues in them are preserved
- Can be viewed using the “All” status tab
- Can be unhidden at any time
Hiding a column is useful for “Done” statuses. You can hide completed work to focus on active issues, but still access them when needed via the status tabs.
Deleting Columns
Remove columns you no longer need:Managing Tags
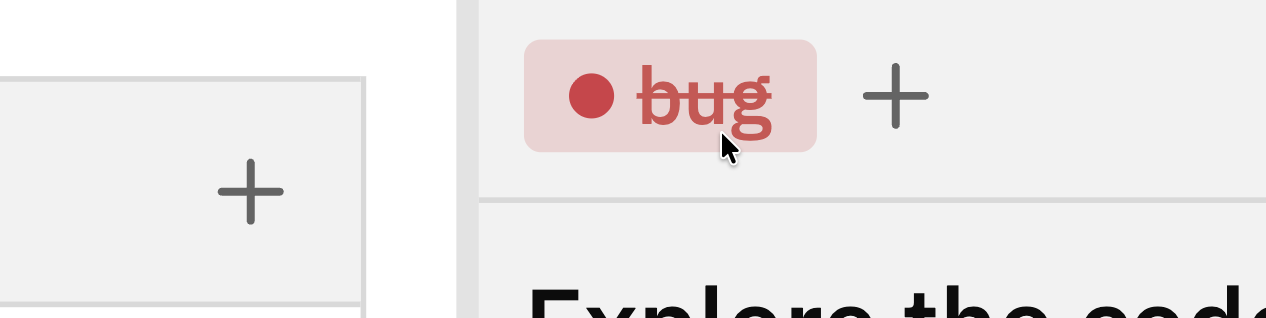
Tags help categorise and filter issues. Tags are created inline when you add them to issues.Creating Tags
To create a new tag:- Open any issue
- Click the Tags field (or the + button next to existing tags)
- Type the name of your new tag
- If the tag doesn’t exist, you’ll see a Create option
- Select a colour for the tag
- Click to create and apply the tag
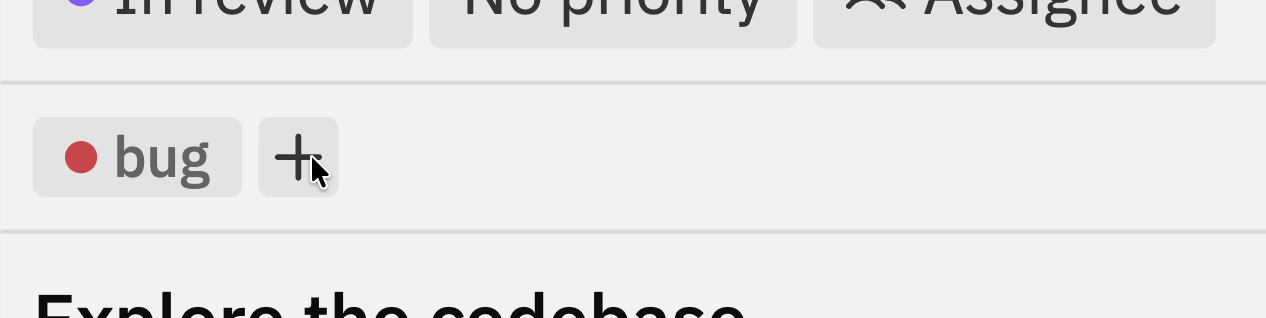
Tags are shared across all issues in the project. Once created, a tag can be added to any issue.
Using Tags
- Click the Tags field on any issue to add or remove tags
- Use the tag filter in the filter bar to find issues with specific tags
- Tags appear as coloured labels on issue cards
Best Practices
Keep it simple
Start with fewer columns. You can always add more later. Too many columns creates confusion about where issues should go.
Use clear names
Column names should be obvious to everyone on the team. “In Progress” is clearer than “WIP” or “Active”.
Hide, don't delete
If you’re not sure about a column, hide it instead of deleting. You can unhide it if you need it later.
Consistent colours
Use consistent colour meanings across projects. For example, always use red for blocked/urgent statuses.
Troubleshooting
Can't delete a column
Can't delete a column
The column probably has issues in it. You must move all issues to another column before deleting. Check:
- Open Display Settings - it shows the issue count next to each status
- Use the “All” status tab to see all issues including hidden ones
Changes didn't save
Changes didn't save
Make sure you clicked Save after making changes in Display Settings. Changes aren’t applied until you save.
Column order is wrong
Column order is wrong
Open Display Settings and drag columns to reorder them. Remember to click Save after reordering.
Can't find a column
Can't find a column
It might be hidden. Open Display Settings and check the visibility toggle for each column. Or use the “All” status tab to see issues in hidden columns.
Related Documentation
- Kanban Board - Using the board interface
- Issues - Creating and managing issues
- Filtering & Sorting - Finding issues with tags and filters