Documentation Index
Fetch the complete documentation index at: https://vibekanban.com/docs/llms.txt
Use this file to discover all available pages before exploring further.
What is a Workspace?
A workspace is an isolated environment for completing a coding task. Think of it as a dedicated “project room” where you:- Work on a specific task - Each workspace focuses on one goal (e.g., “Add user authentication”)
- Chat with coding agents - AI assistants that write and modify code for you
- Review changes - See exactly what code was added, modified, or deleted
- Test your application - Built-in preview browser to see changes in action
- Create pull requests - Submit your changes for review when ready
Why use Workspaces instead of coding manually?Workspaces let you describe what you want in plain English, and AI coding agents do the implementation. You review the changes, provide feedback, and iterate until the task is complete. It’s like having a junior developer who works instantly and never gets tired.
Key Concepts
| Concept | Description | Example |
|---|---|---|
| Workspace | A task execution environment where you work with agents | ”Add user authentication” |
| Repository | A git repository included in a workspace | frontend, backend |
| Session | A conversation thread with a coding agent | Claude Code session for implementing a feature |
- A workspace is your working environment for a specific task
- A workspace can contain one or more repositories (each with independent git state)
- Within a workspace, you can have multiple sessions to chat with different agents or start fresh conversations
frontend and backend repositories. Within that workspace, you might have one session for implementing the backend API and another session for the frontend UI.
Key Features
Multi-Repository Support
Work across multiple repositories within a single workspace. Reference code from one repo while implementing changes in another.
Multiple Sessions
Run multiple agent conversations simultaneously. Work around token limits by starting fresh sessions while keeping context.
Browser Testing
Built-in browser preview without leaving the workspace. Test across desktop, mobile, and custom viewport sizes.
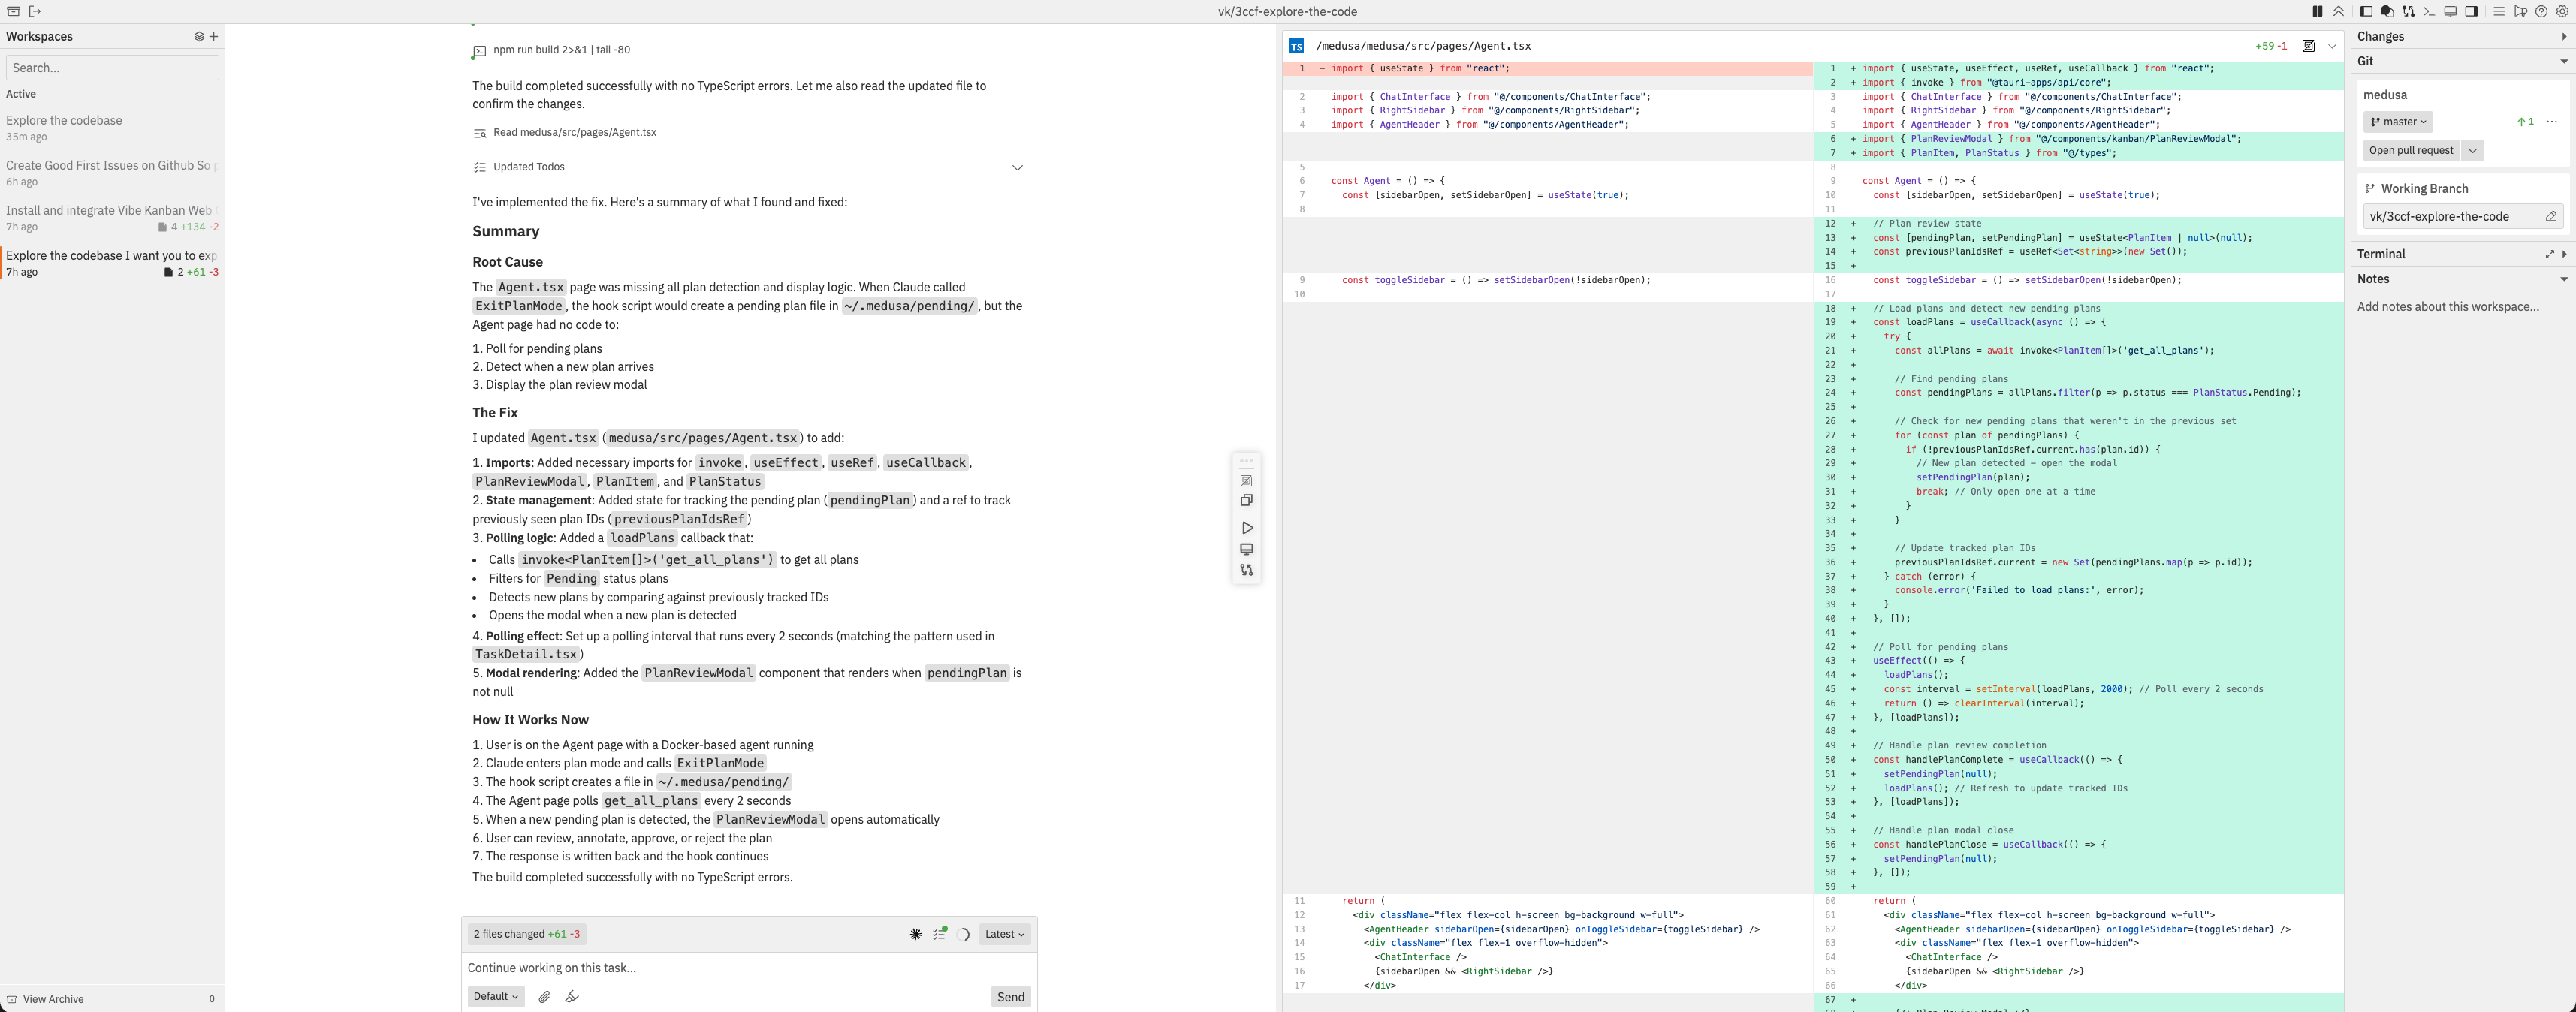
Changes Panel
Review code modifications with syntax-highlighted diffs. Add inline comments to provide feedback to agents.
Integrated Terminal
Built-in terminal for running commands directly in your workspace. New to the Workspaces UI.
Workspace Notes
Notes for each workspace to document important information. New to the Workspaces UI.
Command Bar
Central navigation hub for quick actions. Access every workspace action with keyboard shortcuts.
Common Questions
What happens to my code when I create a workspace?
What happens to my code when I create a workspace?
When you create a workspace, Vibe Kanban:
- Creates a git worktree - a separate working directory linked to a new branch
- Your original repository stays untouched
- All changes happen in the worktree on a new branch
- Nothing is pushed to remote until you explicitly create a PR
Can I work on multiple tasks at once?
Can I work on multiple tasks at once?
Yes. Each workspace is completely independent:
- Create as many workspaces as you need
- Each has its own branch, changes, and sessions
- Switch between workspaces using the sidebar
- Agents in different workspaces don’t interfere with each other
What if the agent makes a mistake?
What if the agent makes a mistake?
You have full control:
- Review changes in the Changes panel before committing
- Add comments on specific lines to request fixes
- Edit messages to retry with different instructions
- Start a new session if the conversation goes off track
- Delete the workspace if you want to start completely fresh
How do I know when the agent is done?
How do I know when the agent is done?
Watch for these indicators:
- Status in sidebar changes from “Running” to “Idle”
- Chat shows completion message or asks for next steps
- Changes panel shows all modifications made
What's the difference between a Project and a Workspace?
What's the difference between a Project and a Workspace?
- Project = A container that groups related repositories (configured once in Settings)
- Workspace = A task execution environment for a specific coding task